Cleaning Diecast Cars: Expert Tips for a Pristine Look
Before you even think about laying a finger on one of your prized models, let’s talk about getting your gear in order. Grabbing the right tools isn't just a preliminary step; it’s the foundation of keeping your collection in pristine condition. We're aiming for a gentle touch here—think ultra-soft brushes, premium microfiber cloths, and non-abrasive cleaning solutions that protect that delicate paint and those perfect decals.
Building Your Diecast Cleaning Toolkit
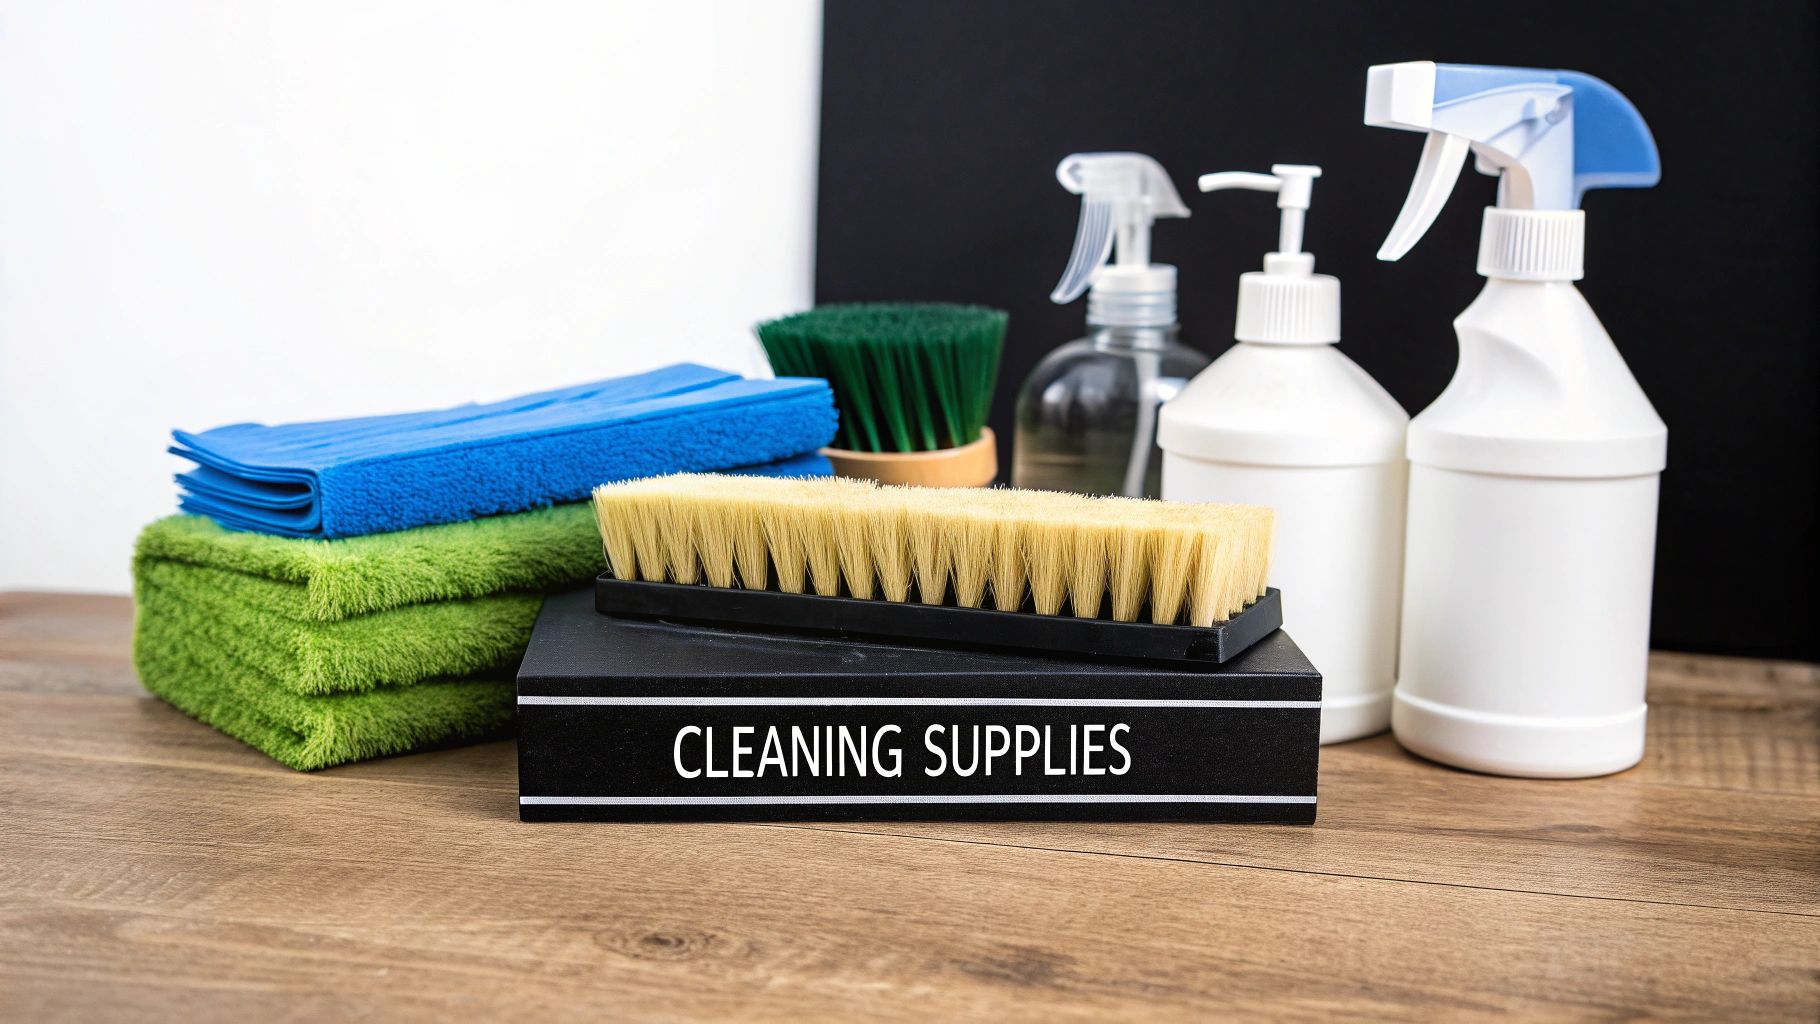
Putting together a dedicated cleaning kit is non-negotiable. This is absolutely not the time to raid the cabinet under the kitchen sink. The tools you choose are the difference between a factory-fresh finish and a surface marred by a web of micro-scratches. It’s a sad sight, and one we can easily avoid.
Think of it as professional car care, just shrunk down to a smaller scale. It's a serious business; the real-world car care market was valued at about USD 4.4 billion in 2022 and continues to climb. A lot of the same principles, and even some of the specialized products, translate perfectly to our hobby.
Essential Tools for Safe Cleaning
Your toolkit doesn’t need to break the bank, but it does need to be right for the job. You'll be tempted to use common household items, but please, resist. They can cause damage that’s impossible to reverse.
Here’s what you actually need:
- Soft Brushes: A set of soft-bristled makeup or detailing brushes is your secret weapon. Their gentle fibers are perfect for getting into tricky spots like grilles, spoilers, and deep inside wheel wells without scuffing the paint.
- Microfiber Cloths: Forget paper towels or that old t-shirt. High-quality microfiber cloths are specifically designed to trap dust and soak up moisture, all without leaving behind lint or creating scratches.
- Air Blower: A simple rubber bulb air blower—the kind photographers use for camera lenses—is your best friend for routine dusting. It blasts away loose particles from nooks and crannies without any physical contact.
A common mistake is thinking any soft cloth will do. I once used a seemingly soft dish towel on a glossy black diecast and was horrified to see tiny swirl marks under direct light. That's when I invested in a dedicated pack of microfiber cloths—a small price to pay for peace of mind.
Choosing the Right Cleaning Solutions
When it comes to liquids, less is almost always more. You must never, ever use harsh household cleaners like Windex, Formula 409, or anything with alcohol or ammonia. These chemicals are notorious for stripping paint, dissolving decals, and fogging up the plastic "glass" in a heartbeat.
For most deeper cleaning jobs, a simple solution of a few drops of mild dish soap (like original Dawn) in a bowl of lukewarm water is all you need. If you'd rather go with a pre-made product, many hobby suppliers offer specialized model car polishes and cleaners that are formulated to be safe.
Diecast Cleaning Toolkit Comparison
Choosing the right tool is just as important as the cleaning technique itself. Using an old toothbrush or a paper towel might seem harmless, but these items can cause permanent damage to your models. This table breaks down why sticking to recommended tools is a must.
| Recommended Tool | Household Item to Avoid | Reason for Recommendation |
|---|---|---|
| Microfiber Cloth | Paper Towels / T-Shirts | Microfiber lifts and traps dust without scratching. Other fabrics can leave lint and create swirl marks on paint. |
| Soft Detailing Brush | Old Toothbrush | Detailing brushes have ultra-soft bristles that clean intricate parts without abrasion. Toothbrushes are too stiff and will scratch paint and decals. |
| Camera Air Blower | Canned Air | A manual air blower provides gentle, controlled puffs of air. Canned air can be too powerful and may spray propellants that damage finishes. |
| Mild Dish Soap & Water | Glass or All-Purpose Cleaner | A pH-neutral soap is gentle on paint and decals. Household cleaners contain harsh chemicals (ammonia, alcohol) that strip paint and fog plastic. |
As you can see, the "convenient" household option often carries a hidden cost. A small investment in the right tools is an investment in the longevity and value of your entire collection.
Creating this kit is a fundamental part of the hobby, just as crucial as hunting down that next great find. If you're just getting into collecting, establishing a proper maintenance routine from day one is one of the best things you can do. For more foundational tips, check out our guide on how to start your diecast collection.
Mastering Routine Dusting and Surface Care
Dust is the relentless, silent enemy of every diecast collection. It just never stops. Your first and most effective line of defense isn't a deep clean, but a consistent, gentle maintenance routine. It’s all about prevention—keeping those surfaces pristine so you rarely need to do a major cleaning in the first place.
The heart of this strategy lies in using tools that can get rid of dust without ever touching, let alone harming, the model itself. My go-to is a simple rubber bulb air blower, the kind photographers use for their camera lenses. It delivers perfectly targeted bursts of air that clear dust from tricky spots like grilles, vents, and inside wheel wells. The best part? It's a no-contact solution, which is a lifesaver for protecting those incredibly fragile antennas, emblems, and mirrors.
Handling Delicate Graphics
Once you've blown off the loose stuff, you might notice a few stubborn particles clinging on. This is where a super-soft makeup brush or a fine-tipped artist's brush comes in. A gentle sweep is all it takes to lift the remaining dust away.
This two-step approach is especially vital for models covered in delicate tampos or decals. Those printed-on graphics are surprisingly easy to damage. Over time, any kind of repeated friction—even from a soft cloth—can start to wear them down, fading the very details that make a model special.
You can't treat every model the same—that's a rookie mistake. A quick puff of air is probably all that's needed for cars tucked away in an enclosed display case. But that one-off model sitting proudly on an open shelf? It’s going to need more careful brushwork around its decals to stop them from gradually wearing away. The real key is adapting your technique to the model's condition and where you keep it.
This commitment to preservation is a huge reason why the hobby is booming. The global diecast model car market hit about USD 3.1 billion in 2024 and is on track to reach USD 4.8 billion by 2032. That growth is powered by collectors who understand that maintaining a model's pristine condition is part of the passion. You can dig deeper into these trends and the rise of collectible car care on Grand View Research.
Creating a Sustainable Routine
The end goal here is to build a safe, repeatable process that stops dust from ever getting a foothold. A little bit of loose dust is easy to handle. It's when that dust sits around, mixes with the humidity in the air, and turns into a grimy film that you have a real problem on your hands—one that requires a much more intensive cleaning session.
So, how often should you do this? It really boils down to your display method:
- Enclosed Cases: If your models are behind sealed glass or acrylic, you're in luck. A light dusting every few months is likely all they'll need.
- Open Shelving: Cars out in the open are magnets for dust. They'll look their best with a gentle dusting every one to two weeks.
By making this light maintenance a regular part of your collecting habit, you're not just cleaning; you're actively preserving the original finish. You'll massively cut down the risk of long-term damage and keep your models looking as incredible as the day you first unboxed them.
Deep Cleaning Grimy or Neglected Models
Every now and then, a simple dusting just won't cut it. We’ve all been there—you find a hidden gem at a flea market, uncover a long-forgotten model from a dusty attic, or realize a car on an open shelf has collected more than just admiration. This is when you need to roll up your sleeves for a proper deep clean.
The goal isn't to scrub the car into oblivion. Think of it more as a delicate restoration, carefully lifting away years of grime to reveal the beauty underneath. This method is specifically for models with serious buildup—oily fingerprints, sticky mystery residues, or that stubborn film of dirt that a brush just can't handle. It takes patience, but the results are incredibly rewarding.
The Gentle Soaking Method
First things first, always start with a pre-clean. Grab a soft brush and gently whisk away any loose dust and debris. The last thing you want is to create an abrasive sludge when you add water, scratching the very paint you're trying to save. This quick step ensures you're only tackling the grime that’s really stuck on.
Next, it’s time to prepare a cleaning bath. All you need is a small bowl of lukewarm water with a few drops of mild, pH-neutral dish soap. The classic blue Dawn soap is perfect for this. This simple concoction is surprisingly effective at breaking down grease and dirt without being harsh enough to harm the paint or fragile decals.
I once rescued a 1970s Corgi model that was covered in a nasty, brownish film—probably from decades in a smoker's home. Submerging it would have been a death sentence for the axles. Instead, I patiently used cotton swabs dipped in the soapy water, working in small, careful circles. It took a while, but the original bright paint came through flawlessly.
To help visualize this careful process, here’s a quick overview of the key stages and what to watch out for.
Deep Cleaning Process Overview
| Stage | Objective | Key Considerations |
|---|---|---|
| Initial Dusting | Remove loose surface dirt and debris. | Use a very soft brush to avoid scratching the paint. This prevents turning dust into abrasive mud. |
| Solution Prep | Create a gentle, non-damaging cleaning agent. | Use lukewarm water and only a few drops of mild, pH-neutral soap. Avoid harsh chemicals. |
| Targeted Cleaning | Lift stubborn grime from the model's surface. | Use damp (not dripping) cotton swabs or fine brushes. Work in small sections to maintain control. |
| Controlled Rinsing | Remove all soap residue without soaking the car. | Use fresh cotton swabs dipped in clean water. Never run the model under a tap. |
| Thorough Drying | Eliminate all moisture to prevent rust and spots. | Gently pat with a microfiber cloth, then use an air blower for crevices. Air dry completely. |
Following these stages ensures you protect the model while bringing it back to life.
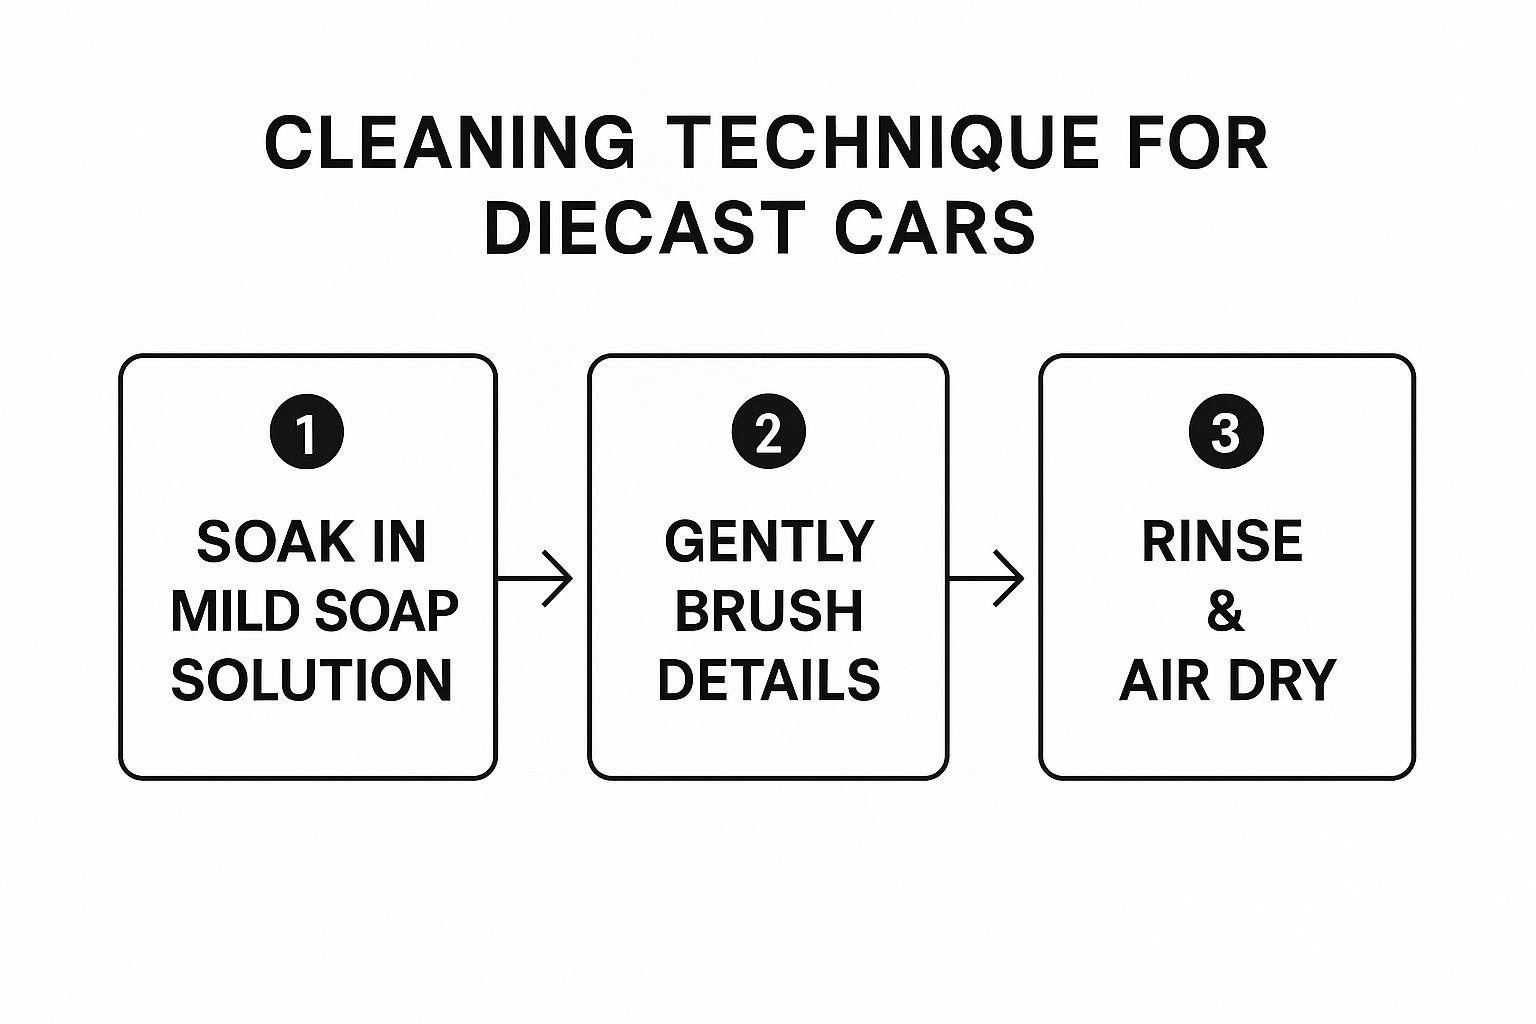
This controlled, step-by-step approach is all about using gentle tools and avoiding full immersion to protect every part of your model, from the paint to the hidden metal axles.
Detailing and Rinsing The Right Way
With your car prepped and your cleaning solution ready, the careful work begins. Dip a cotton swab or a fine-tipped, soft brush into the soapy water, and then dab most of the excess liquid off on the side of the bowl. You want the tool to be damp, not dripping wet. This gives you maximum control.
Work on the car one small section at a time. Gently move the swab in little circles to loosen the grime, paying extra attention to tricky spots like panel lines, grilles, and around the windows where dirt loves to hide. For a really stubborn spot, you can let the solution sit for about a minute, but never let it dry on the model.
Once a section is clean, you need to rinse it right away. Take a fresh cotton swab, dip it in clean water, and wipe away the soap residue. This controlled "rinse" is absolutely crucial. It prevents ugly soap scum from forming and lets you see your progress clearly. I know it sounds tedious, but it's infinitely safer than running the car under a faucet, which can force water into every nook and cranny and cause rust down the road. If you want to dive deeper, there are some great guides on how to clean diecast cars without ruining the paint that really drive these techniques home.
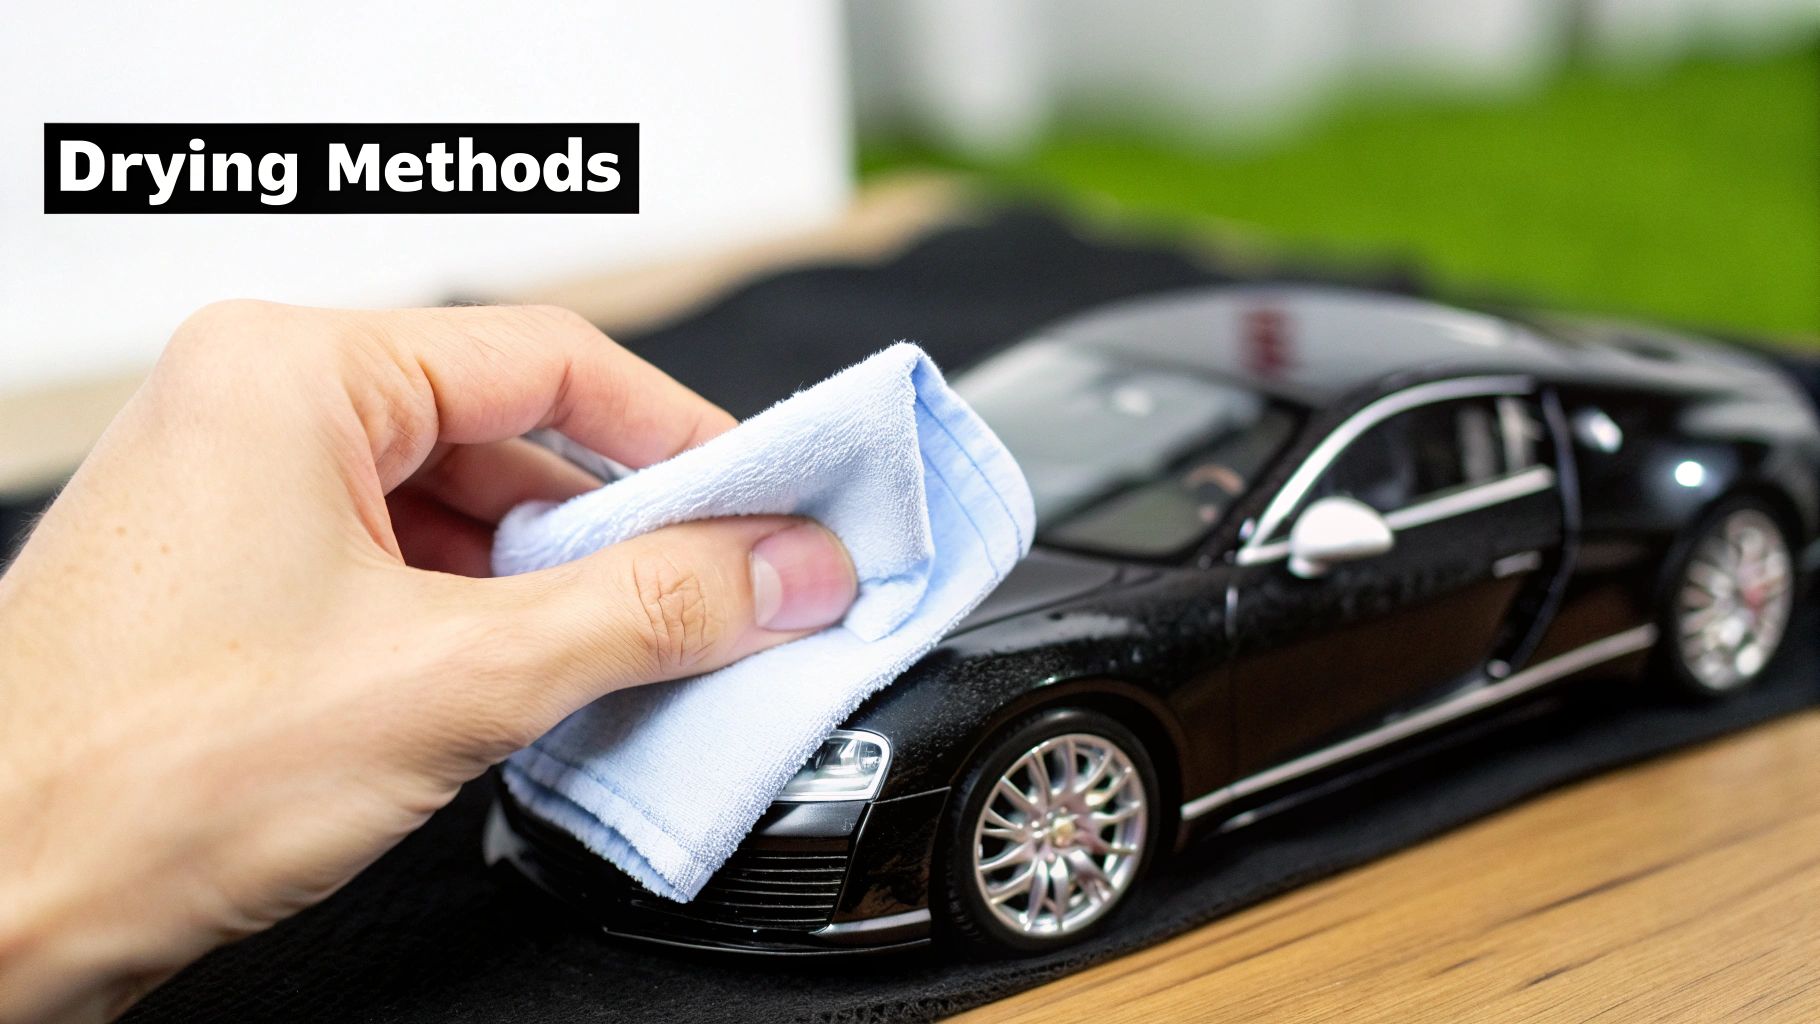
Finally, don't rush the drying process—it's just as important as the cleaning. Gently pat the model with a clean, dry microfiber cloth to soak up most of the water. Then, let it air dry completely in a safe, well-ventilated spot. A quick blast from a canister of compressed air or a hand-held air blower is a great way to push any lingering water out of the crevices. This final step prevents water spots and ensures no hidden moisture is left behind to corrode those vulnerable axles or internal parts.
How to Preserve and Display Your Collection
Once you've got your cleaning routine down to a science, the next big step is thinking about long-term care. A perfectly clean model is great, but how you store and display your collection is what truly determines its longevity and value down the road. It’s all about creating a safe harbor that protects your prized possessions from the everyday enemies that cause irreversible damage.
This isn't just a niche obsession for model collectors; it reflects a much bigger trend. The market for real-world car detailing is projected to grow from USD 41.40 billion in 2024 to an incredible USD 58.06 billion by 2030. This boom is all about a growing appreciation for vehicle preservation—a mindset we collectors apply with equal passion to our scaled-down treasures. You can see the full breakdown of this expanding market and what it means for vehicle care over on Fortune Business Insights.
Choosing the Right Display Method
How you show off your collection is a huge decision, one that's constantly trying to balance visibility with protection. It’s so tempting to just line up your models on an open shelf where you can admire them easily, but that leaves them wide open to dust, accidental nudges, and all sorts of environmental troublemakers.
Here’s what I’ve learned works best:
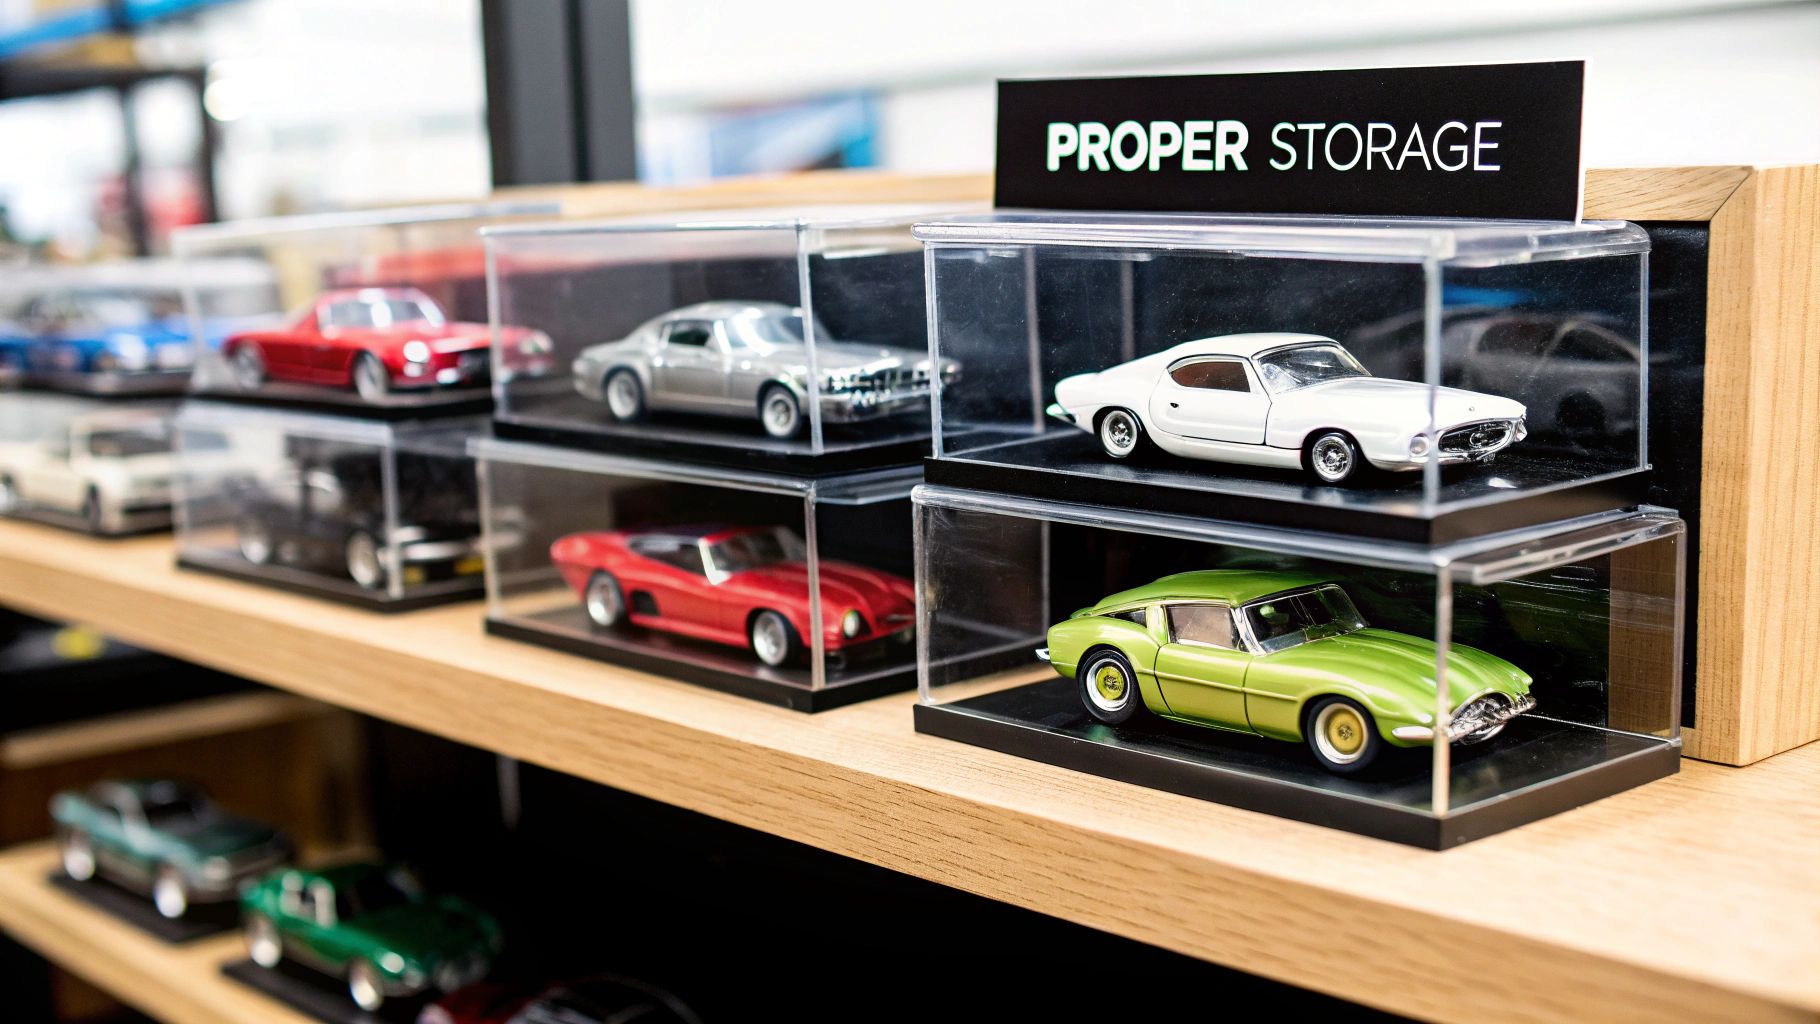
- Enclosed Glass or Acrylic Cabinets: These are the gold standard for most collectors. They drastically cut down on dust while still letting you enjoy the view. My advice? Look for cabinets with tightly sealed doors for the best possible protection.
- Individual Acrylic Cases: For your absolute crown jewels or the most delicate models, you can't beat a dedicated case. These give you 360-degree protection from dust, fingerprints, and—most importantly—damaging UV rays that will bleach paint and make plastic brittle over time.
- Wall-Mounted Displays: These can be fantastic space-savers and create a stunning visual, but only if they have a protective front cover. An open-faced wall rack isn't much better than an open shelf when it comes to keeping your models safe.
Your display is your first line of defense. Think of it as a garage for your mini fleet. A well-sealed cabinet is like a climate-controlled garage, while an open shelf is like parking on the street—it looks good, but it's exposed to everything.
If you're weighing your options, we've put together a much more in-depth guide on the best solutions for diecast car storage that dives into the pros and cons of each setup.
Creating a Safe Environment
Beyond the display case itself, the room's environment plays a massive part in preserving your collection. The two biggest culprits I see causing damage are sunlight and humidity.
Direct sunlight is a model killer. Period. The UV radiation will mercilessly fade a vibrant paint job, turning a beautiful cherry red into a dull, sad pink in a matter of months. It also destroys plastic parts, making windows and tires brittle and likely to crack. Always, always, always position your display cases away from windows that get direct sun.
Humidity is a sneakier enemy. Too much moisture in the air can encourage mold growth and, worse, speed up the corrosion of metal parts like axles and screws, which is a huge problem for older models. On the other hand, a super dry environment can cause old decals to flake right off. You want a stable, moderate room temperature and humidity level. If you're comfortable, your models probably are too. A cheap little hygrometer from the hardware store can be a lifesaver for monitoring conditions in your display room.
Common Cleaning Mistakes That Can Ruin Models
Knowing the right way to clean your diecast cars is only half the battle. Just as important—if not more so—is knowing exactly what not to do. I’ve seen too many well-intentioned collectors cause irreversible damage to their prized models with the wrong products or techniques. It's a heartbreaking experience, and it's completely avoidable.
Learning from these common blunders is your shortcut to becoming a pro at cleaning diecast cars. By understanding the pitfalls, you can protect your investment and keep every model in your collection looking like it just rolled off the showroom floor.
The Danger of Harsh Chemicals
The single biggest mistake a new collector can make is grabbing a household cleaner from under the sink. It's so tempting to reach for a bottle of Windex or a multi-surface spray for a quick shine, but trust me, this is a catastrophic error.
These products are loaded with aggressive chemicals like ammonia and alcohol. They might work wonders on countertops, but they are an absolute disaster for the delicate finishes on diecast models. In an instant, they can strip away paint, dissolve intricate decals, and permanently cloud the clear plastic used for windows and headlights.
I once watched a collector try to wipe a fingerprint off a glossy black diecast with a popular glass cleaner. The ammonia in the spray immediately left a dull, hazy patch on the paint that could never be polished out. The model was effectively ruined in seconds.
The Problem with Abrasive Materials
Another all-too-common pitfall is using abrasive materials for wiping or drying. A standard paper towel, a kitchen sponge, or even an old t-shirt might feel soft to the touch, but on a microscopic level, their fibers are rough enough to create a web of fine scratches and swirl marks on a high-gloss paint job.
Think of it this way: you wouldn't use sandpaper on your real car, would you? The same logic applies here. You should always stick to high-quality microfiber cloths. They are specifically engineered to lift and trap dirt without scratching the surface, making them an essential tool for any serious collector.
Avoiding Full Water Immersion
When you’re faced with a particularly grimy model, the impulse might be to just dunk it in a bowl of soapy water or run it under the tap. This is a really risky move that can lead to hidden, long-term damage.
While the exterior of a diecast car is painted metal, the interior is a different story. It contains untreated metal parts like axles, screws, and the posts that hold the base to the body. Submerging the car traps water in these hidden nooks and crannies, creating the perfect environment for rust to form. You might not see it at first, but over time, it can seize the wheels and corrode the model from the inside out.
- Rusted Axles: This is the most common issue. Trapped moisture causes the axles to rust, preventing the wheels from turning smoothly—or at all.
- Corroded Screws: The screws holding the chassis together can rust, making it difficult or even impossible to disassemble the model for repairs or customization down the line.
- Trapped Debris: A full dunk can also push dirt and grime deeper into panel lines and crevices, ironically making it even harder to remove later.
The damage from these mistakes often goes far beyond simple aesthetics; it can impact the model's functionality and its value. While some collectors intentionally add rust effects for a hyper-realistic look—something you can learn more about in our guide to weathering model cars—it should always be a deliberate choice, not an accident from a bad cleaning job.
Your Diecast Cleaning Questions Answered
Even with the best guides, questions always come up. That’s perfectly normal—every collection is different, and every model has its own quirks. To wrap things up, I’ve pulled together some of the most common questions I hear from fellow enthusiasts to give you direct, no-nonsense answers.
Think of this as your final confidence boost. These are the real-world scenarios and "what if" moments that every collector runs into eventually. Getting these details right is what separates a good cleaning job from a great one.
Can I Clean My Diecast Cars With Just Water?
I get this one a lot. While using only water is a decent first step for light surface dust, it usually doesn’t cut it for a truly deep clean. Water alone just can't break down the oily residue from fingerprints or that stubborn, sticky film that builds up over time from the air in your home.
For a surface that's genuinely clean, you'll almost always need a mild cleaning agent. I find that a single drop of pH-neutral dish soap in a small bowl of water is the perfect solution. It has just enough power to lift away grime without being harsh on the paint or decals. It’s like washing your hands—water rinses, but it’s the soap that does the actual cleaning.
Key Takeaway: Water is better than nothing, but it won’t remove oils or stubborn grime. A mild soap solution is the safest and most effective way to get a thorough, gentle clean.
What About Cleaning Old or Vintage Models?
Cleaning vintage diecast cars is a whole different ballgame and requires a much more delicate touch. Decades-old paint and decals can be incredibly fragile, and it doesn't take much to make them flake right off. The golden rule here is to be as gentle and non-invasive as you possibly can.
- Start Dry, Not Wet: Always begin with the driest methods. Use a super-soft brush and an air blower to get rid of as much loose dust as you can before you even think about introducing any liquids.
- Do a Spot Test: If you feel a liquid solution is absolutely necessary, test it on a small, hidden spot first. The underside of the model or inside the chassis is a good place to check for any reaction before you commit to cleaning the whole thing.
- Embrace the Patina: Honestly, sometimes the goal isn't to make a 50-year-old model look brand new. A bit of age-appropriate wear, or "patina," is part of its history and charm.
With vintage pieces, preservation should always be your top priority, not restoration. Getting too aggressive with cleaning can easily strip away a model's history—and a big chunk of its value.
How Often Should I Clean My Displayed Cars?
There's no single magic number here; how often you need to clean really depends on how you display your collection. It's all about balancing protection with visibility.
Here’s a practical guideline I've developed over the years:
| Display Method | Dusting Frequency | Deep Clean Frequency |
|---|---|---|
| Open Shelves | Every 1-2 weeks | Annually or as needed |
| Closed Cabinet | Every 2-3 months | Rarely, only if soiled |
| Individual Cases | Annually | Almost never |
Once your models are sparkling, you’ll definitely want to show them off. Taking great pictures is an art in itself, and it’s the best way to share your passion. For some great tips on making your collection look incredible on camera, check out our guide on photographing model cars. It’ll help you capture every one of those perfect details.
At Everything Diecast, we share your passion for collecting and preserving these incredible miniature works of art. Explore our vast selection of high-quality models and find the next centerpiece for your collection at https://everythingdiecast.net.