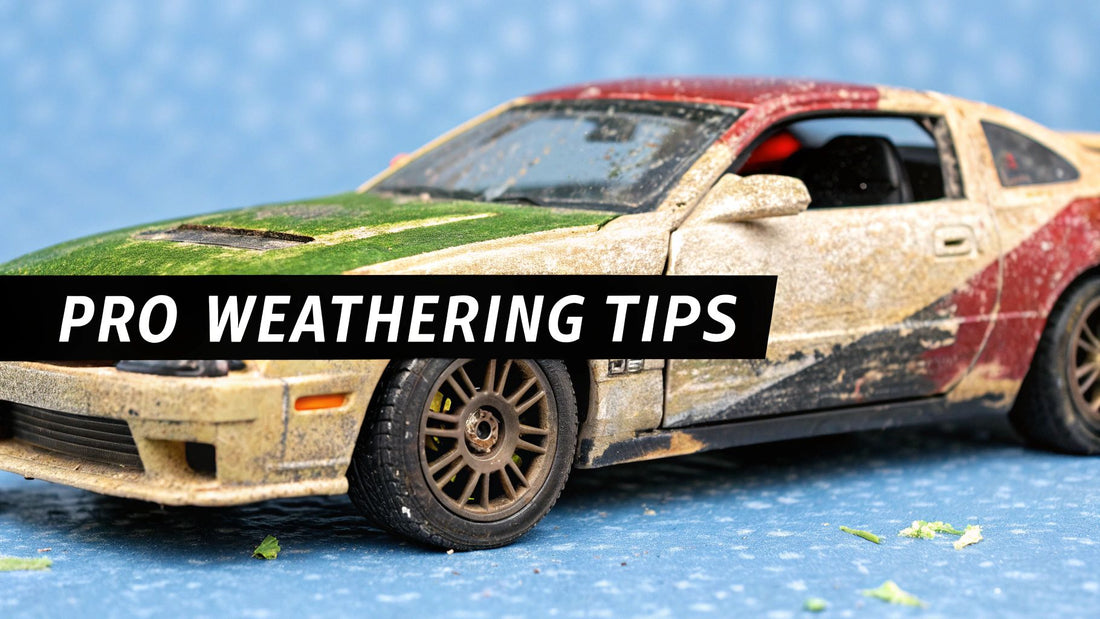
Pro Tips for Weathering Model Cars
Weathering a model car is what takes it from a clean, factory-fresh replica and turns it into a believable, road-weary machine. It's an art form that uses layers of simulated grime, rust, and dust to tell a story. You’re essentially an observer of the real world, translating details—from the subtle dust on a daily driver to the heavy decay of a junkyard find—into miniature form. This is how you add real depth and hyper-realism to your collection.
The Art of Storytelling Through Weathering
Think about a brand-new model just out of the box. It’s perfect, glossy, and looks exactly like thousands of others. Now, picture that same car after a few years of real life. It has a story etched right onto its surface: fine scratches from a tight parking spot, paint faded from the sun, and a light film of road dust settled into every panel line.
That's the entire idea behind weathering. You're not just making a model look dirty; you're making it look real. Every effect you add builds a narrative. Is your model a well-maintained but hard-working pickup, or is it an abandoned classic slowly being reclaimed by nature?
Why Realism Matters
This focus on authentic wear and tear is a specialized corner of the scale modeling hobby that has absolutely exploded in popularity. As manufacturers started producing more detailed models, hobbyists naturally wanted to make them more believable. In fact, interest in weathering really took off in the early 2000s. By 2010, surveys showed that roughly 40% of scale modelers regularly weathered their projects—a huge leap from just 15% in the mid-1990s. For more on the growth of detailed automotive modeling, check out the forecasts from J.D. Power GlobalData.
This trend highlights a key principle: the best weathering is subtle and logical. Before you even pick up a brush, ask yourself a few questions:
- Where would dirt and mud actually collect? Mostly on the lower body, behind the wheels, and all over the undercarriage.
- How does paint fade? The roof, hood, and trunk—surfaces constantly baked by the sun—will fade much faster than the sides.
- Where does rust really start? It almost always begins where paint is chipped or where water pools, like in the wheel arches, fender lips, and along the rocker panels.
A masterfully weathered model can be a visual game-changer. The number one mistake I see is people taking it way too far. Go into every project repeating the mantra, “light touch, light touch, light touch.” Always work in layers.
When you understand the "why" behind the wear, you can make deliberate choices that truly bring your model to life. This guide will walk you through the hands-on techniques to get these effects just right.
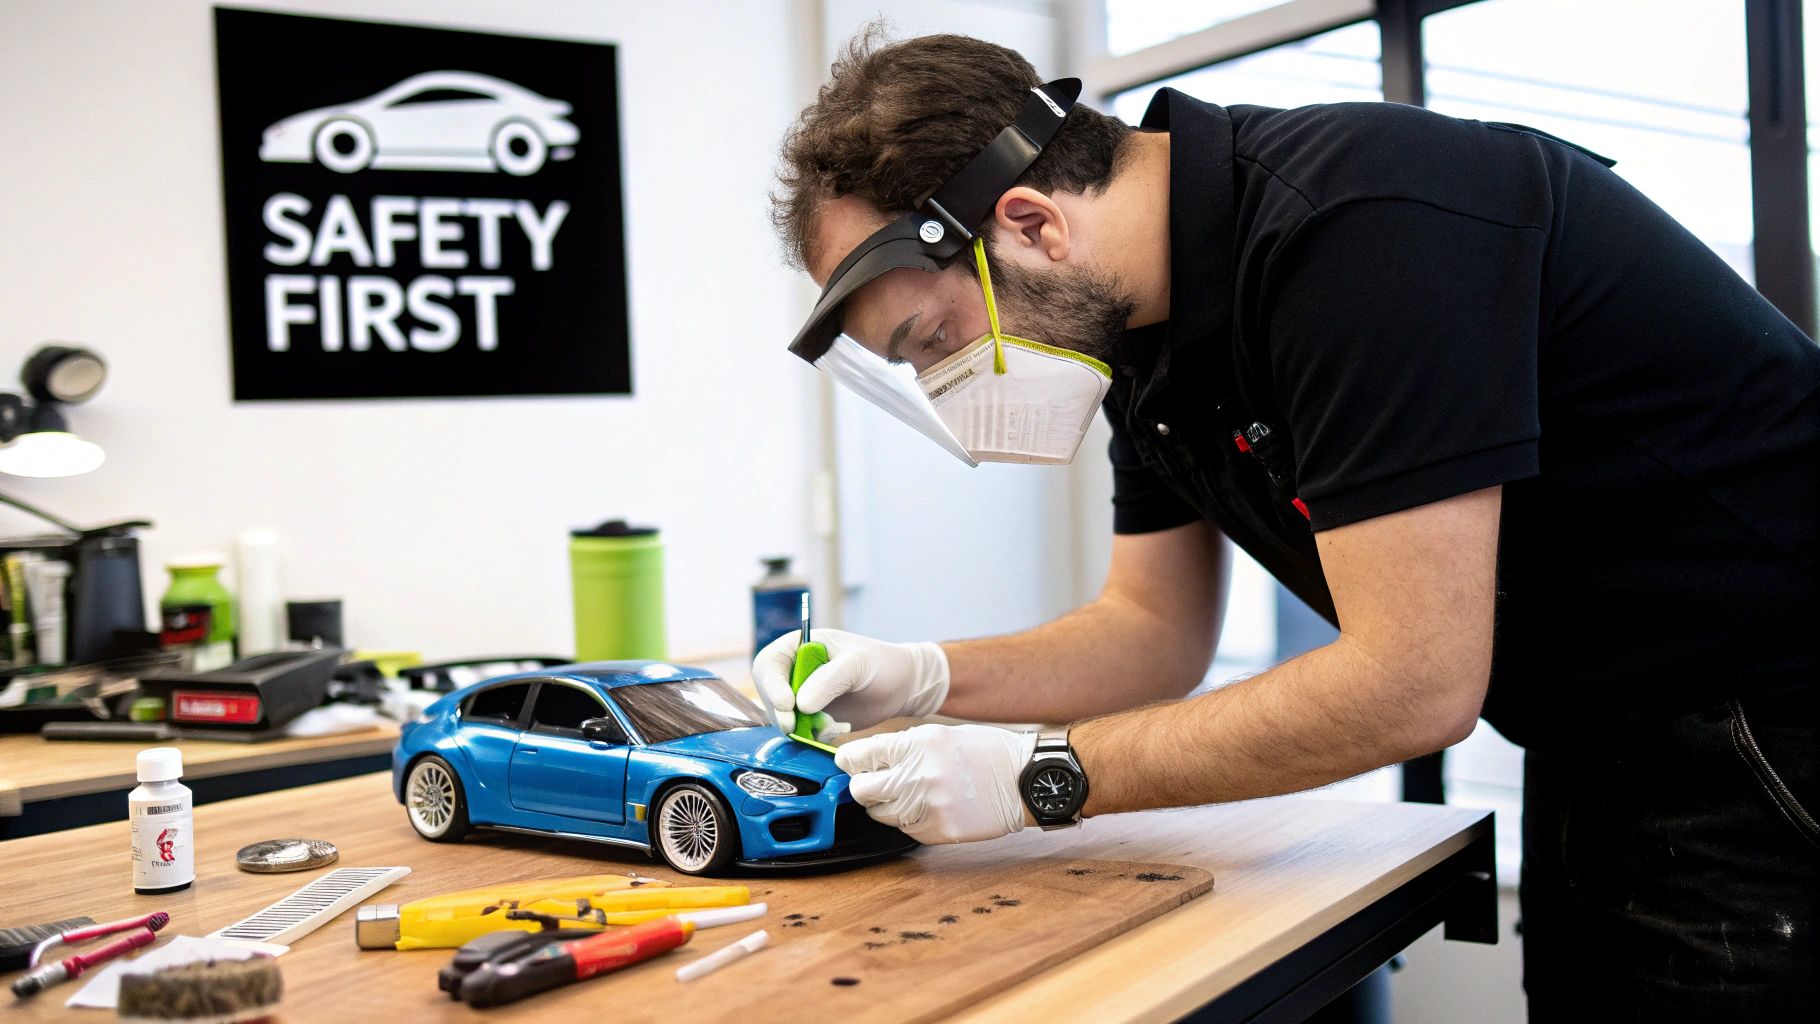
Preparing Your Model for Authentic Effects
Any masterpiece is built on a solid foundation. Before you even think about adding that first speck of rust or dust, you have to get the prep work right. Trust me, skipping these initial steps is the fastest way to a frustrating project, because weathering products just won't behave correctly on an unprepared surface.
The very first thing you need to do is give your model a good, thorough cleaning. It doesn't matter if it's brand new and straight out of the box; it's still covered in mold-release agents, oils from the factory, and your own fingerprints. These residues are the mortal enemy of good paint adhesion.
All it takes is a gentle bath in warm, soapy water with a soft brush. Once it's completely air-dried, you'll have a perfectly clean slate to work with.
Creating the Ideal Canvas
With your model clean and dry, we've arrived at what is arguably the most critical step for getting great results when weathering model cars: applying a clear matte varnish. I know it sounds a bit backward to spray a clear coat on before you start painting, but a glossy factory finish is far too slick for weathering products to grab onto.
Try it, and you'll see washes pool up in weird blobs, pigments refuse to stick, and you'll be left with ugly tide marks instead of subtle, realistic grime.
A matte varnish creates microscopic texture—what we call "tooth"—that gives the surface a slightly rough, non-reflective quality. This tooth is what allows your washes to flow beautifully into panel lines and lets you blend and feather pigments for those soft, dusty effects. It’s like trying to draw with chalk on a pane of glass versus a proper chalkboard. That matte surface gives your tools something to grip.
Disassembly for Maximum Detail
For truly convincing results, you have to be able to reach every nook and cranny. That almost always means taking your model apart. Popping the body off the chassis and removing the wheels is a fantastic start. This simple move prevents you from accidentally getting mud effects on the windows or rust streaks where they don't belong, like on the tires.
A few key parts you should always consider taking off are:
- Wheels and Tires: This lets you weather the chassis and wheel wells independently for a more layered look.
- Windows/Glass: Keeps them perfectly clean and protected from overspray and weathering products.
- Bumpers and Grille: Gives you unobstructed access to the front and rear of the car's body.
Of course, how far you can go with disassembly depends on the model itself. When you're shopping for your next project, it helps to read up on which are the most durable and detailed diecast models, as they often come apart more easily without you having to worry about breaking fragile parts.
Pro Tip: I can't stress this enough—get a set of small, labeled containers or a compartment tray. As you remove those tiny screws and parts, put them in their designated spot. It makes reassembly a breeze and saves you from the inevitable frustration of a lost part.
This careful prep work is what separates an okay-looking model from one that's truly impressive. It ensures your weathering looks intentional and realistic, setting the stage for a fantastic final piece.
To make things easier, I've put together a quick checklist to follow before you start any weathering project.
Essential Prep Work Checklist
| Preparation Step | Purpose | Key Tip |
|---|---|---|
| Thorough Cleaning | Removes oils, mold release agents, and fingerprints. | Use a soft brush and mild soap; ensure the model is 100% dry before proceeding. |
| Apply Matte Varnish | Creates "tooth" for weathering products to adhere to. | Apply a thin, even coat. A heavy coat can obscure surface details. |
| Strategic Disassembly | Allows access to hard-to-reach areas like the chassis and wheel wells. | Take photos as you disassemble to create a visual guide for reassembly. |
| Protect Clear Parts | Prevents windows and lights from getting "weathered." | Use masking tape or liquid mask for precise protection. |
| Organize Small Parts | Keeps screws, axles, and other small components from getting lost. | A multi-compartment hobby tray is your best friend here. |
Following these steps methodically will give you a perfect base every single time, making the fun part—the actual weathering—so much more effective and enjoyable.
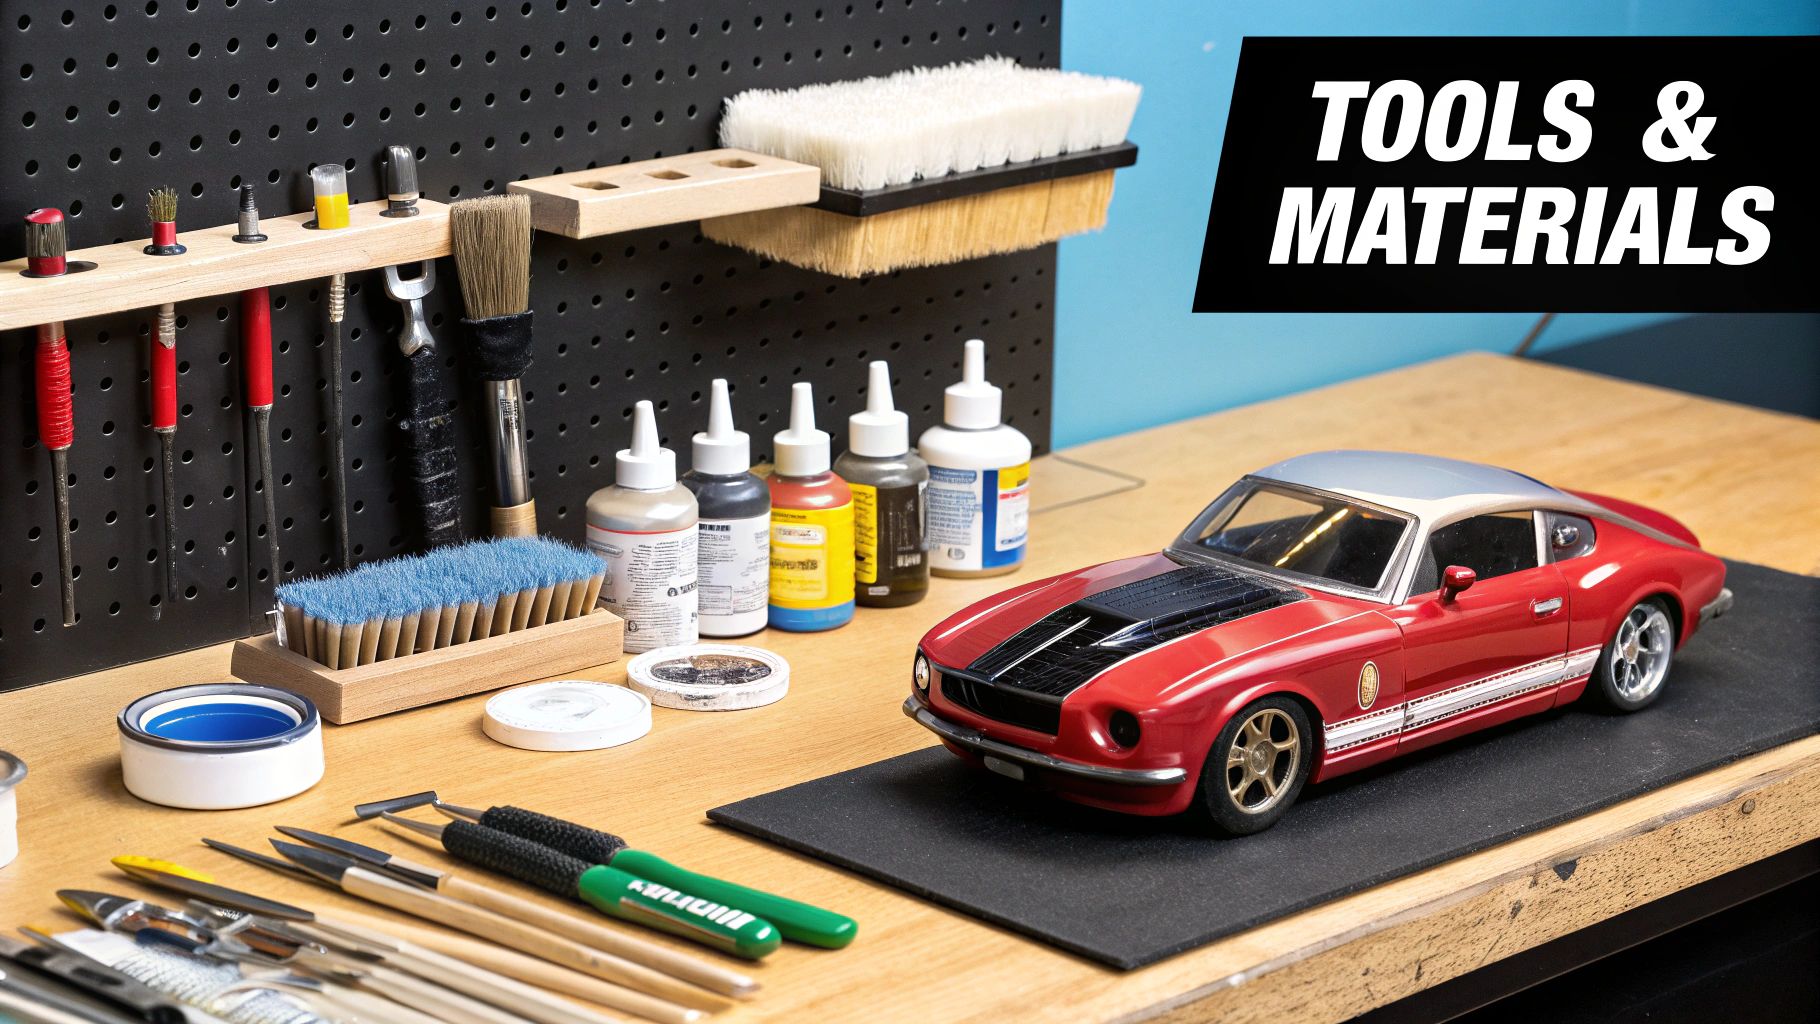
Building Your Weathering Toolkit
Having the right tools is easily half the battle when you're aiming for realistic weathering. You don't need to buy out the entire hobby store, but investing in a few key items will make getting those authentic effects much easier and, frankly, a lot more fun. Your toolkit is all about choices, with each product offering unique strengths for different jobs.
The foundation of any good weathering kit starts with your paints and washes. These are the workhorses for creating everything from grimy panel lines to subtle color shifts on the bodywork. The three main players are enamels, acrylics, and oils, and knowing when to use each one is crucial.
- Enamel Washes: These are my personal go-to for crisp panel lines and getting into recessed details. They flow beautifully into crevices and have a longer working time, giving you plenty of room to clean up any excess with a bit of thinner.
- Acrylic Washes: Being water-based makes these low-odor and a breeze to clean up. They dry much faster, so you have to work quickly, but they're fantastic for layering effects without messing with the coats underneath.
- Oil Paints: Oils are a bit more advanced, but they offer the ultimate control for blending. They are absolutely perfect for creating soft, subtle rust streaks and rain marks because their extremely long drying time lets you feather and fade the effect for days until it looks just right.
Pigments: The Secret to Realistic Texture
While washes create depth, weathering pigments are what bring real texture to the party. These are ultra-fine, dry powders that can mimic everything from fine dust to thick, caked-on mud. For anyone serious about weathering diecast cars, pigments are non-negotiable.
You can apply them dry with a soft brush for a subtle, dusty finish—perfect for a car that’s seen a few backroads. Or, you can mix them with a matte medium or a special pigment fixer to create a thick paste. This looks exactly like dried mud and is ideal for splattering on the undercarriage and behind the wheel wells.
The Application Tools You Actually Need
Finally, you need the right tools to apply all these products. You don't need a lot of fancy equipment, but a few specific items will make a world of difference in your results.
Don't underestimate the power of a simple makeup sponge. Tearing off small pieces and dabbing them lightly in dark brown or grey paint is the absolute best way to create random, realistic paint chips along fender edges and rocker panels.
For brushes, you'll want a small variety. A fine-tipped detail brush (like a size 00 or 0) is essential for painting precise scratches and tiny streaks. A wider, flat brush is great for applying general washes over larger areas, and an old, stiff-bristled brush is perfect for stippling pigments or flicking on mud spatters.
You can find more advice on this in our broader guide covering various model painting techniques. By carefully selecting these key supplies, you'll build a powerful and efficient toolkit without overspending.
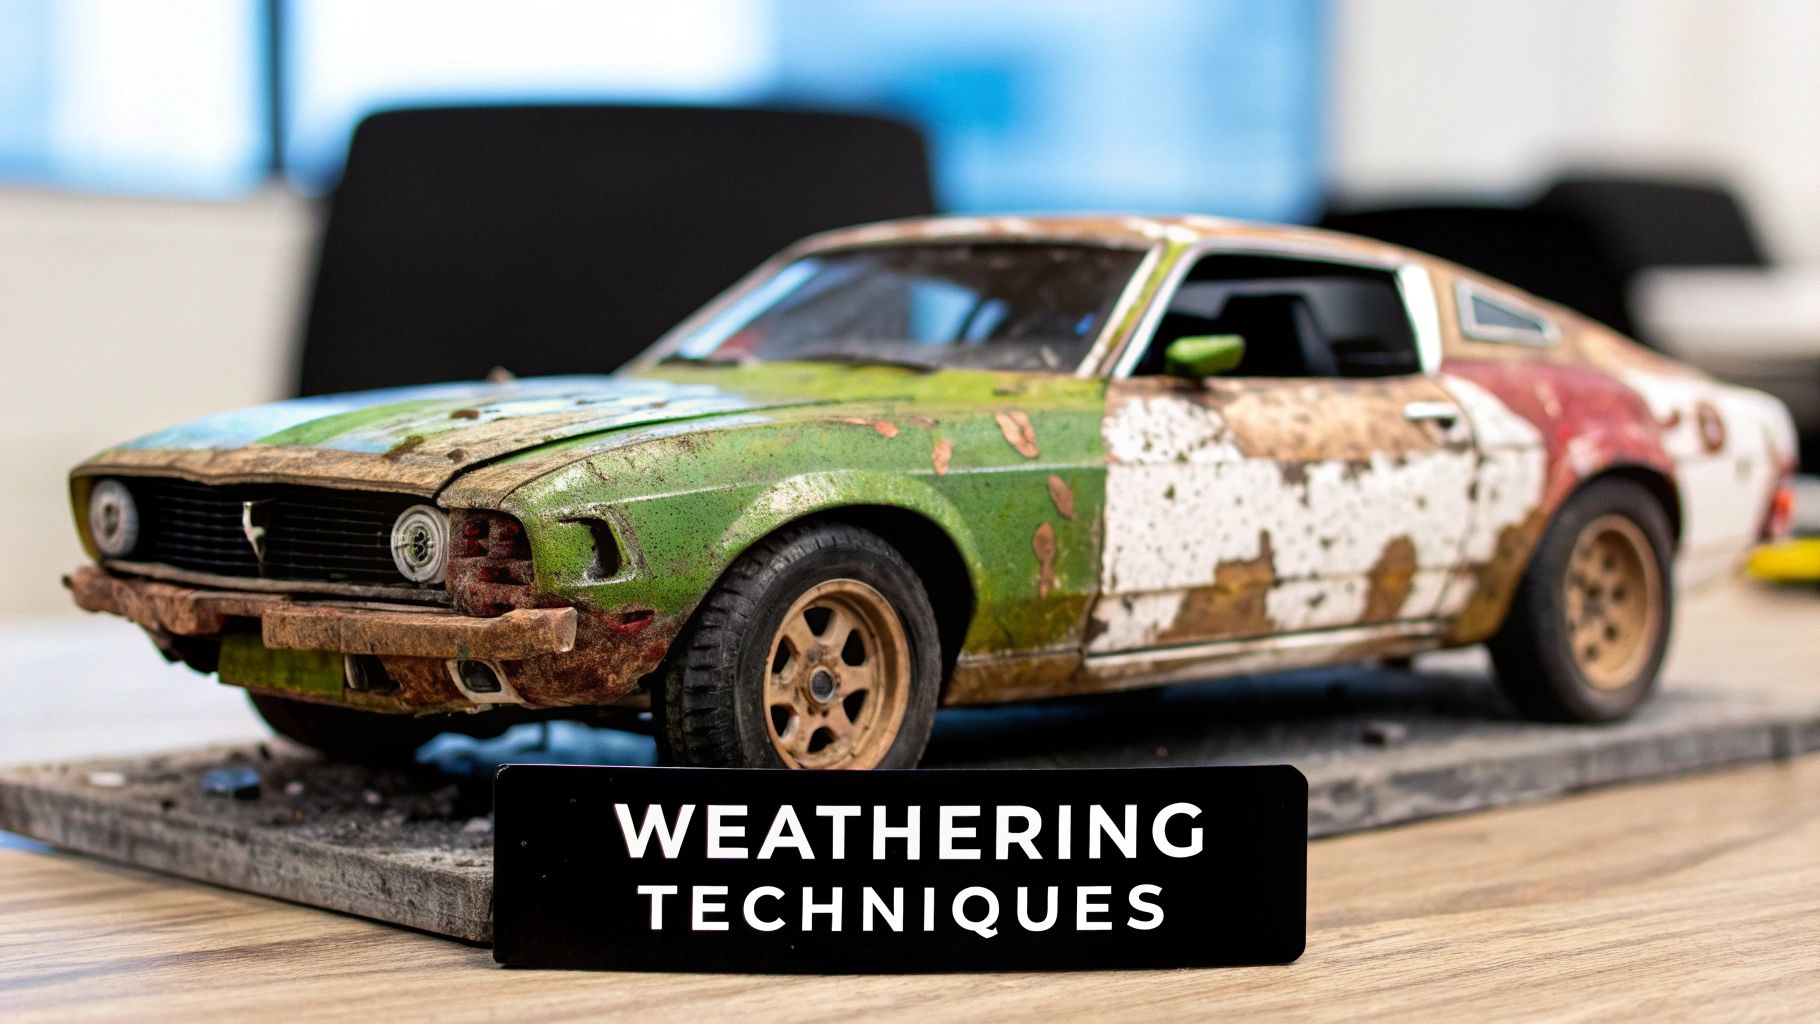
Mastering Core Weathering Techniques
Alright, you've done the prep work, your tools are laid out, and now it's time for the fun part. This is where a clean, factory-fresh model car starts to get a soul. We're going to layer on the wear and tear, telling a story with every chip and streak of grime. Each technique we cover here builds on the last, working together to create a truly believable miniature.
The first, and honestly one of the most impactful, methods to learn is the panel line wash. It's a simple step that instantly adds incredible depth and definition to your model. Suddenly, all those molded details—door seams, vents, panel gaps—just pop. Think of it like outlining a drawing; it gives everything contrast and tells the viewer's eye where to look.
A "wash" is just a fancy term for heavily thinned paint, either enamel or acrylic. Thanks to capillary action, it does most of the work for you. Just load up a small brush with your wash, touch the tip to a panel line, and watch it magically flow right into the crevice. Let it dry for a few minutes, then take a cotton swab lightly dampened with the right thinner and gently wipe away the excess from the flat surfaces.
This is a fundamental step in the whole process, laying the groundwork for more advanced effects.

As you can see, washes fit right in after the base coat, serving as a bridge between the clean paint job and the more targeted grime and damage we'll add next.
Creating Authentic Paint Chips and Scratches
Next up, let's give this car some history with paint chipping. No vehicle that’s seen real-world use is perfect. Those little chips and scratches tell a story of tight parking spots, gravel roads, and everyday life. There are a couple of great ways to pull this off, each with its own specific purpose.
For creating those random, fine chips you see along panel edges, nothing beats the sponge method.
- Just tear off a tiny piece from a household sponge or a makeup wedge.
- Lightly dip a corner into some dark brownish-grey paint.
- Now, this is key: dab almost all the paint off onto a paper towel until it's nearly dry.
- Gently stipple or tap the sponge along areas that would see the most wear—think fender lips, rocker panels, and door edges.
This technique creates a wonderfully random pattern of small nicks that’s almost impossible to get right with a brush. But for more deliberate damage, like a key scratch or a scrape from a low-hanging branch, a fine-tipped brush is your best friend. Use that same brownish-grey color and paint a very thin, slightly irregular line.
A crucial skill in weathering is one of subtle color transitions. The difference between a master and a journeyman often comes down to this. You want very subtle, feathery transitions, not harshly defined lines.
Simulating Rust and Grime
For many weathering projects, rust is the absolute star of the show. One of the most realistic ways to create those tell-tale rust streaks is with oil paints. Their incredibly slow drying time gives you unparalleled control to blend and fade the effect until it looks just right.
Start by placing a tiny dot of burnt sienna or raw umber oil paint right where you want a rust streak to begin—usually coming from a paint chip or a bolt. Then, grab a flat brush barely dampened with odorless thinner and gently drag that dot downwards, following the path gravity would pull rainwater. You can go back and forth, feathering the edges to get a perfect, faint streak that looks like it’s been there for years.
Finally, to get that authentic, road-weary look, we'll break out the weathering pigments for dust and dried mud. These powders are perfect for the lower chassis, suspension parts, and wheels. You can apply them dry with a soft brush for a fine layer of dust. Or, for a caked-on mud effect, mix the pigments with a little matte medium to form a paste and stipple it on with an old, stiff brush.
These methods are the foundation of great weathering. While these are the core skills, exploring the full scope of diecast customization can take you even further. Once you get comfortable with washes, chipping, rust streaks, and pigments, you'll have everything you need to tell a convincing story with your models.
Creating Advanced Effects for Peak Realism
So, you've got the hang of the basics. Your models are looking nicely grimy, but you're ready to push them from "good" to "unbelievably real." This is where the real artistry begins. We're moving past simple washes and into the techniques that give a model a genuine history and a story to tell. It takes a bit more patience and a much lighter touch, but the results are absolutely worth it.
One of the most satisfying advanced effects is creating rust that isn't just a brown stain but has actual, physical texture. This is how you replicate the bubbling, flaking corrosion you see on real-world beaters.
An easy way to do this is by mixing a tiny pinch of baking soda or a specialized texture paste into your rust-colored paints. When you apply this gritty mixture to common rust spots—think rocker panels, fender wells, or around pre-drilled bullet holes—it builds up a three-dimensional effect that looks and even feels like genuine decay.
Fading Paint and Tonal Variation
Cars don't just get dirty; they bake in the sun. That relentless UV exposure bleaches and fades the paint, and capturing this sun-fading effect is a huge step toward realism. The secret isn't just spraying a lighter version of the base color. Instead, the pros use highly thinned oil paints or specific enamel products called "filters."
A filter is exactly what it sounds like: a transparent veil of color that subtly shifts the tone underneath without hiding the details.
Imagine you're working on a red car. You'd apply a very light filter of white or pale ochre oil paint to the surfaces that get the most sun—the roof, hood, and trunk lid. You'd spread it over the area, then use a clean, soft brush barely dampened with thinner to wipe most of it away. What's left is a faint, tinted film that perfectly mimics a natural, sun-beaten fade. It’s far more convincing than a hard-edged, airbrushed highlight. For anyone just getting into custom work, mastering this is a fantastic next step after learning the fundamentals of how to paint diecast cars.
The real mark of an expert modeler is the ability to create subtle, feathery transitions. A master's work flows, while a beginner's often has harsh, obvious lines. This is where you practice that light touch.
This kind of multi-stage weathering is what separates the winners from the rest of the field. In fact, a look at major model car competitions from 2015 to 2023 revealed that around 60% of winning entries featured complex, layered effects for chipping, rust, and dust. It's a clear signal that judges and fellow hobbyists value this deep level of realism.
Adding Hyper-Realistic Details
With the major effects in place, it’s time for the final touches. These small, specific stains are what truly sell the story and ground your model in reality.
- Grease and Oil Stains: Grab a glossy black or dark brown wash. A few careful dabs around axle hubs, engine parts, or tow hitches perfectly simulate years of lubricant buildup.
- Fuel Spills: This one is a classic. Use a very thin, glossy wash (Tamiya Smoke is perfect for this) and create a subtle vertical streak running down from the fuel filler cap. It instantly suggests a history of hasty fill-ups.
- Rain Marks: After your dust layers have fully dried, take a fine-tipped brush lightly dampened with odorless thinner. Gently drag it down the sides of the car to create faint, clean streaks, just like rain washing away the accumulated grime.
These advanced techniques are all about looking at the world around you and then translating those observations to your model. This is the point where weathering model cars stops being a checklist of steps and becomes a true art form.
Your Questions on Weathering Model Cars Answered
Even with the best guide in hand, you’re bound to hit a few snags when you start weathering model cars. It's just the nature of the beast. Weathering is a craft with tons of variables, and figuring things out as you go is a huge part of the learning curve. To help you push through those common hurdles, here are some straight-up answers to the questions we hear most often.
What Is the Best Paint for Beginners to Start Weathering With?
For anyone just dipping their toes into weathering, the answer is simple: acrylic paints and pre-made acrylic washes. They are, without a doubt, the most beginner-friendly option out there. Because they're water-based, they have almost no odor and clean up is a breeze—a huge win for your workspace.
More importantly, they are incredibly forgiving. If you mess up, you can usually just wipe the mistake away with a damp cloth or a cotton swab. You just have to act before it fully dries. This safety net lets you experiment and build confidence without the constant fear of ruining your model.
A great first project is to grab a simple black or brown acrylic wash and practice on an old model or a spare body shell. Just focus on defining the panel lines. Once you get the hang of that, you'll have the foundational skills to tackle more advanced products like enamels and oils.
How Do I Seal My Weathering Work to Protect It?
This is an absolutely critical final step. After pouring hours into getting those grime and rust effects just right, the last thing you want is for your hard work to get smudged, scratched, or rubbed off. The key is patience. You have to wait until every single layer of weathering is bone dry. To be safe, give it a solid 24 hours.
Once it's cured, you'll seal it with a final clear coat. A matte or satin varnish is almost always the right call, as it will lock in that realistic, non-glossy finish you've worked so hard to create.
Apply your varnish in several very light, misted coats from a distance. If you lay down one heavy, wet coat, it can actually reactivate the delicate pigment and wash layers underneath, blurring or even completely destroying your effects. An airbrush gives you the most control for this vital task.
Can I Weather a Diecast Model Like a Hot Wheels?
Absolutely! The process for weathering a typical diecast car, like a Hot Wheels or Matchbox, is fundamentally the same as for a plastic model kit. The biggest difference you'll face is the original factory finish. Diecast cars come out of the box with an extremely glossy, tough-as-nails paint job that weathering products just won't stick to.
To get around this, you need to give the surface some "tooth" for your paints to grab onto. Start by lightly scuffing the entire body with a very fine-grit sandpaper (1000-grit or higher) or even a green kitchen scouring pad.
After scuffing, give it a thorough cleaning. You can learn more about the right way to do that in our guide on how to clean diecast cars without ruining the paint. Then, apply a quality matte primer. This prep work is non-negotiable; if you skip it, your washes and paints will just bead up and slide right off the slick surface.
At Everything Diecast, we share your passion for creating stunningly realistic models. Explore our extensive collection of high-quality diecast vehicles perfect for your next weathering project at https://everythingdiecast.net.