How to Paint Diecast Cars: Pro Tips for Flawless Results
Painting a diecast car is an art form. It begins with stripping down the old finish, laying a solid foundation with primer, and then carefully applying new color with an airbrush or a quality spray can. The real secret isn't just in the painting itself, but in the meticulous preparation and using the right tools for each stage—from chemical strippers to automotive-grade paints and primers.
Your Essential Toolkit for Painting Diecast Cars
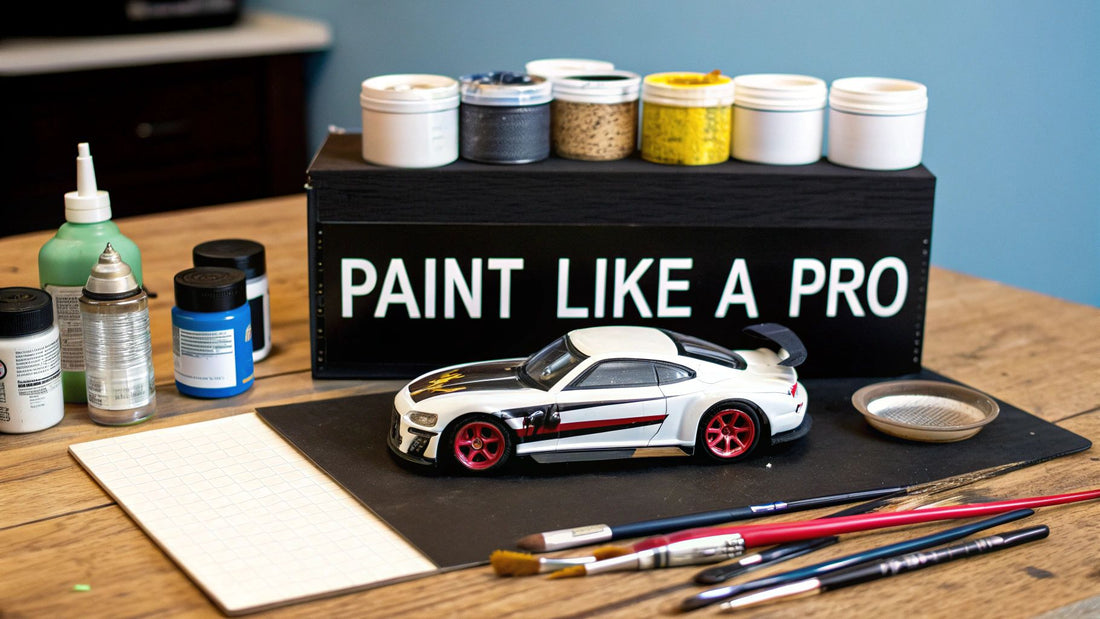
Before you can transform a standard factory model into a head-turning custom piece, you need to gear up. This isn't just a shopping list; understanding why each tool is necessary is what separates a frustrating experience from a successful one. Think of your toolkit as the foundation of every custom project. Investing a little thought and money upfront will pay dividends in a professional-quality finish later.
The diecast hobby is bigger than ever. With the market for diecast models valued at around USD 2.3 billion in 2024, there’s been an explosion of amazing, specialized products. This growth is great for us hobbyists—it means we have access to better paints, primers, and tools than ever before.
Essential Gear for Stripping and Preparation
The very first phase of any custom paint job is taking the car apart. You'll need the right gear to safely disassemble the model and strip away the factory paint without gouging or damaging the delicate metal body.
- Paint Stripper: You’ve got two main paths here. Citrus-based strippers are much friendlier to work with—less toxic, fewer fumes—but they take their time. On the other hand, heavy-duty chemical strippers work incredibly fast but demand a well-ventilated space and proper safety gear.
- Safety Equipment: This part is completely non-negotiable. At the bare minimum, you need chemical-resistant gloves to keep stripper off your skin and safety goggles to protect your eyes from any unexpected splashes. I strongly recommend a respirator mask, especially if you're using chemical strippers or any kind of aerosol paint.
- Disassembly Tools: A good set of small screwdrivers is a must. You'll also need a drill with a variety of bits to tackle the rivets that hold the baseplate on most diecast cars.
Pro Tip: When drilling out rivets, pick a drill bit that's just a little bit larger than the rivet head. Use gentle, steady pressure. The goal is to remove only the flared head of the rivet, leaving the post intact. This makes reassembly a breeze later on when you use a small screw.
Choosing Your Paint and Primer
Once the car is stripped down to bare, shiny metal, it's time to build the new finish back up. The primer and paint you choose will have the biggest impact on the final look and durability of your custom diecast.
A quality primer is absolutely critical for getting paint to stick to metal. An etching primer is fantastic because it chemically bonds to the metal, creating the perfect grippy surface for your color coats. If your casting has a few minor scratches or imperfections from sanding, a filler primer is a great choice. It's thicker and does a nice job of hiding those little flaws.
For the color coat, you have a few excellent options, each with its own personality.
Paint Type Comparison for Diecast Models
Choosing the right paint can feel overwhelming, but it really comes down to your skill level, the finish you're after, and your workspace. This table breaks down the most common types to help you decide.
| Paint Type | Pros | Cons | Best For |
|---|---|---|---|
| Enamels | Extremely durable; hard, glossy finish. | Very long drying time; strong fumes. | Hobbyists looking for a tough, classic finish who have a patient and well-ventilated workspace. |
| Acrylics | Water-based; easy cleanup; low odor. | Less durable without a clear coat. | Beginners or those working in small spaces; great for airbrushing. |
| Lacquers | Dries incredibly fast; brilliant high-gloss finish. | Very strong fumes; requires careful application to avoid runs. | Experienced painters aiming for a showroom-quality shine and fast turnaround time. |
Ultimately, the choice between these paints is personal. I started with acrylics because of the easy cleanup, but many pros swear by the hard-as-nails finish of enamels or the mirror-like shine of lacquers.
Finally, you need to decide between spray cans and an airbrush. An airbrush gives you incredible precision for laying down thin, even coats, but it comes with a higher initial cost and a bit of a learning curve. Spray cans offer pure convenience. To get a better sense of how far you can take your projects, check out our guide on customizing your diecast.
The Crucial First Steps: Disassembly and Stripping
A truly perfect paint job is built on an absolutely flawless foundation. Before you even think about laying down a coat of primer, you have to take the model apart and strip it down to the bare metal.
This initial prep work is, without a doubt, the most important part of the entire process. If you rush through this, I can guarantee you'll be disappointed with the final result. Think of yourself as a real mechanic—you’ve got to get under the hood and do it right.
The first hurdle is usually separating the metal body from the plastic baseplate. Most diecast cars, especially popular ones from Hot Wheels or Matchbox, are held together by two or more metal rivets. Your job is to carefully drill out the head of these rivets without chewing up the chassis or the post itself.
Safely Disassembling Your Model
Grab a drill bit that’s just a bit larger than the rivet's center hole, but still smaller than its flared head. A quick tip from experience: use a center punch to make a little indent first. This gives the drill bit a place to start and prevents it from skipping across the base and scratching everything up.
Apply slow and steady pressure with your drill. You aren't trying to drill a deep hole; you just need to shave off enough metal to break the flared head free. A little patience here goes a long way.
Once the rivets are gone, the body, chassis, interior, and window pieces should come apart with ease. Now, organization is your best friend.
A Place for Everything: I can't stress this enough—use a small, sectioned container or a few labeled plastic bags to keep every single component safe. Losing a tiny axle or a specific screw will bring your entire project to a screeching, frustrating halt when it's time to put it all back together.
Stripping Away the Old Paint
With the car disassembled and all plastic parts set safely aside, it's time to get that factory paint off the metal body. You absolutely must work in a well-ventilated area and wear chemical-resistant gloves and safety goggles. This is non-negotiable, especially when you're working with a powerful paint stripper.
Apply a thick, even coat of your chosen stripper over the whole metal body. Let it sit for the time recommended by the manufacturer, which is usually around 15-30 minutes. You'll know it's working its magic when the old paint starts to bubble up and lift away from the surface.
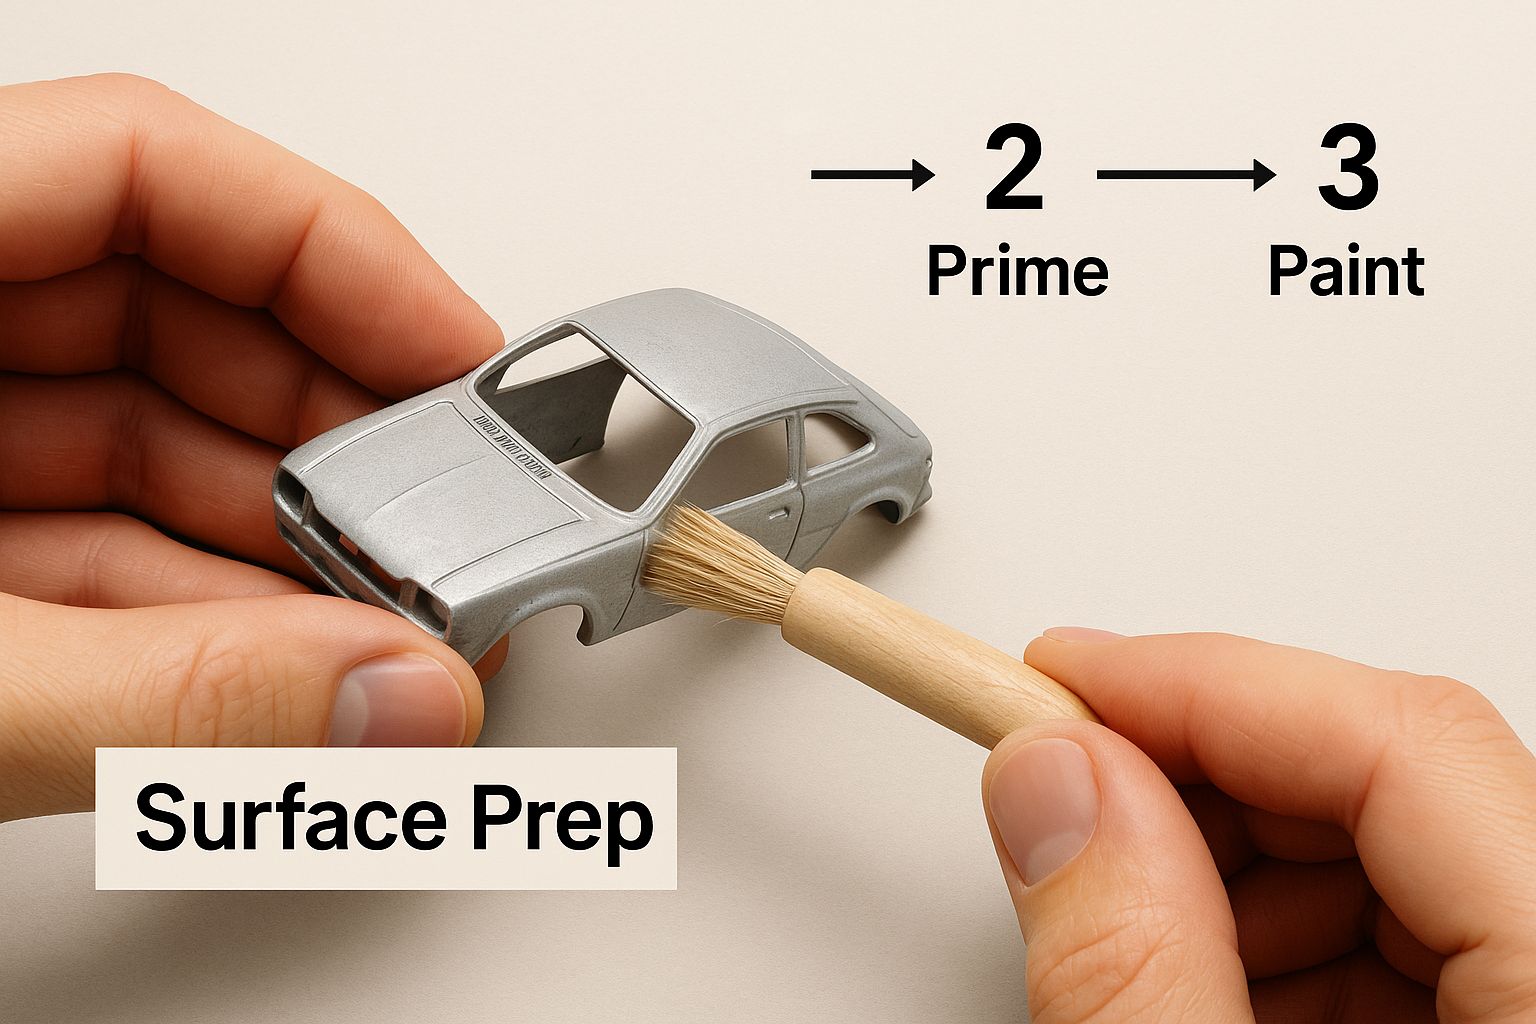
This is what a properly stripped body looks like—a clean slate for your custom creation.

A pristine, stripped surface like this is the only way to start if you want a professional-looking finish.
Once the paint has softened up, use an old toothbrush, a small wire brush, or even a dental pick to scrub away all the loosened gunk. Don't be surprised if you need a second application for some stubborn spots.
After all the paint is gone, wash the body thoroughly with warm, soapy water and then dry it completely. What you should have now is a gleaming, bare metal canvas, ready for the next steps of sanding and priming.
Preparing the Perfect Canvas: Sanding and Priming

With the old paint stripped away, you’re left with the raw metal body of the car. This is your blank canvas. But before you can lay down that perfect new color, you need to prep the surface. This is the step that truly separates a good paint job from a great one, ensuring your new finish goes on smooth and, more importantly, stays on.
First things first, you need to go on a hunt for any lingering imperfections. Most diecast cars have casting lines—those faint ridges left over from the manufacturing mold. A good set of small hobby files is your best friend here, perfect for carefully knocking those lines down. You might also find other small bumps or rough spots left over from the stripping process, and for those, sanding is the answer.
Achieving a Flawlessly Smooth Surface
Your sanding journey should start with a medium grit, something around 400-grit sandpaper, to tackle the more obvious flaws. The trick is to then work your way up progressively through finer grits. A typical progression I use is 400, then 600, and finishing with 1000-grit. This gradual approach is crucial because each finer grit works to remove the tiny scratches left by the one before it, leaving you with an increasingly smooth surface.
For that truly ultimate, glass-like finish, wet sanding is your secret weapon. Grab some waterproof sandpaper (I recommend 1500-grit or even higher) and a bit of soapy water. The water acts as a lubricant, floating away the tiny sanded particles and preventing your sandpaper from getting clogged up. The result is an incredibly slick surface that's absolutely perfect for paint.
Choosing and Applying the Right Primer
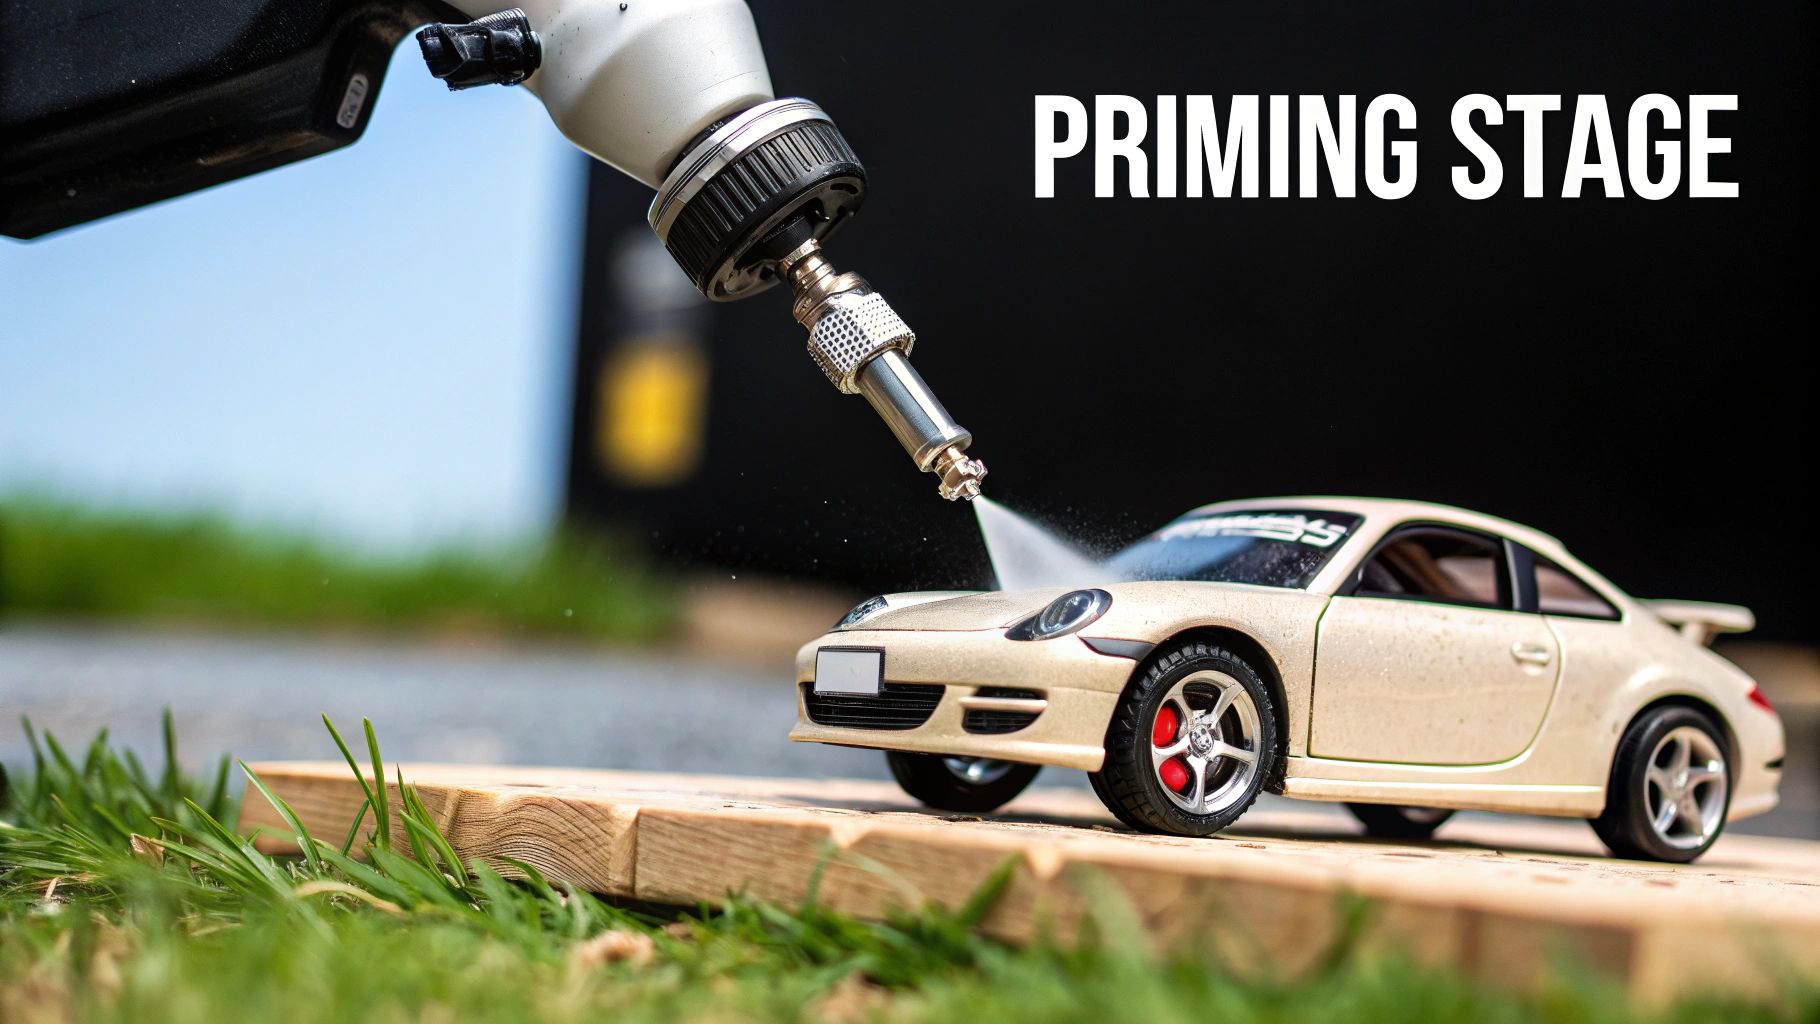
Think of primer as the essential bridge connecting the bare metal to your color coat. It does a few critical jobs: it helps the paint stick, creates a uniform base color, and can even fill in minor surface flaws. The primer you choose really depends on the condition of your model's body.
- Self-Etching Primer: This should be your go-to choice for bare metal. It contains a mild acid that chemically "bites" into the metal surface, creating a superior bond that stops paint from chipping or peeling down the road.
- Filler Primer: If your car still has a few stubborn scratches or minor dings after sanding, a filler primer is exactly what you need. It’s a thicker formula designed to fill in these small imperfections, leaving you with a perfectly level surface to work on.
A critical tip I learned the hard way: always apply primer in several thin, light coats instead of one heavy, thick one. A thick coat of primer is notorious for filling in and hiding all the fine, crisp details on a model, like panel lines and emblems. Patience here is what preserves the car's character.
For a deeper dive into more advanced painting methods, be sure to check out our complete guide on how to master model painting techniques.
Once your model is perfectly sanded and primed, you’re ready for the really exciting part: laying down some color.
Bringing Your Vision to Life: Applying Color Coats
With the primer down and your model perfectly prepped, we get to the fun part. This is where your diecast truly starts to transform, shedding its old skin and taking on the new identity you've planned for it. Whether you're reaching for a spray can or a professional airbrush, the single most important tool in your arsenal is patience.
I've seen it time and time again—the biggest mistake beginners make is trying to lay down all the color in one go. A single, heavy coat is a one-way ticket to disaster. You'll almost certainly end up with drips, runs, and that dreaded lumpy texture we call "orange peel." The real secret to a professional finish is building up the color in several light, misting coats.
Your first pass, which I like to call a tack coat, should be super light. Don't even try to cover the primer. The goal here is to create a slightly sticky, or "tacky," surface that gives the next layers something to really bite into. Let this first coat flash off for about 10-15 minutes before you even think about the next one. This method is what creates that deep, smooth finish we're all after.
Techniques for a Flawless Finish
The tools you pick will shape your technique. You can get incredible results from both spray cans and an airbrush, but they each have their own learning curve. No matter what you're using, a clean painting area is non-negotiable if you want to avoid dust and other junk ruining your fresh paint. And for keeping your models looking great after the project is done, our guide on how to clean diecast cars without ruining the paint offers some great long-term care advice.
For Spray Can Users:
- Warm the Can: A great little trick is to sit the can in a bowl of warm (not hot!) water for about 10 minutes. This boosts the internal pressure, atomizing the paint into a finer mist for a much smoother application.
- Shake Vigorously: Don't be shy here. Shake that can for at least two solid minutes until you hear the little mixing ball rattling around freely. This is crucial for getting the pigment fully suspended.
- Maintain Your Distance: Keep the can about 8-10 inches from the model. Use smooth, sweeping motions, starting your spray just before the car and ending it just after. This prevents those ugly, heavy paint blobs at the start and end of each pass.
For Airbrush Users:
- Thin Your Paint: Most airbrush-ready paints still need a bit of thinning to get them just right. You're aiming for the consistency of milk. A 1:1 ratio of paint to thinner is a good starting point, but always check the manufacturer's recommendations.
- Dial in Your PSI: For the fine work we do on diecast models, a pressure setting between 15-25 PSI is usually the sweet spot for a gravity-fed airbrush.
- Master the Trigger: Get some practice on a piece of scrap cardboard. With a double-action airbrush, you always want to start the airflow before you pull back to release the paint.
Key Takeaway: You're not aiming for instant color; you're building it up gradually. Three to four light coats will always beat one or two heavy ones. This layering is what gives professional paint jobs their incredible depth and smoothness.
The passion for high-quality customs is bigger than ever. In fact, the global diecast car market is projected to hit USD 6.82 billion by 2033. This boom means more and more collectors are diving into advanced techniques to make their models stand out, making skills like proper layering and airbrush control incredibly valuable. You can discover more insights about the growing diecast car market on Verified Market Reports.
Mastering the Details: Masking and Finishing Touches

A solid color coat looks good, sure, but the details are what really make a custom diecast car pop. This is where you elevate your project from a simple repaint to a genuine miniature masterpiece. It all comes down to precision, patience, and adding those final touches that breathe life into your model.
This stage is all about masking for those complex paint schemes and hand-painting the tiny elements most people might not even notice at first glance. If you're going for a crisp two-tone finish or clean racing stripes, you'll need a steady hand and the right kind of masking tape. The entire goal is to create razor-sharp lines with absolutely no paint bleeding underneath.
Creating Crisp Lines with Advanced Masking
Forget about that standard blue painter’s tape from the hardware store. It’s far too thick, and its adhesive is way too aggressive for the delicate work we're doing here. You need specialized hobby masking tape, like the kind from Tamiya. It's thin, flexible, and designed to hug the complex curves of a car body without lifting at the edges.
To get those sharp, clean lines every time, here are a few tips I've picked up over the years:
- Burnish the Edges: Once you've applied the tape, gently run a toothpick or the back of a dull hobby knife along the edge. This small action is your best defense against paint seeping underneath because it creates a perfect seal.
- Remove Tape Correctly: Don't wait for the paint to fully cure. You want to pull the tape off when the paint is still slightly soft—but not wet. This prevents the paint from chipping or peeling off along that perfect line you just created.
- Use Liquid Mask: For really awkward shapes like window trim or complex logos, a liquid masking fluid can be a total lifesaver. You just paint it on, let it dry into a rubbery film, spray your color, and then gently peel the mask off with tweezers.
The global diecast scene is a testament to how much collectors value these fine details. The art of painting diecast cars in major markets like North America and Europe often incorporates automotive-grade techniques to meet incredibly high standards. It’s a space where a beginner's passion can truly evolve into a serious craft, a journey we explore more in our beginner's guide to collecting diecast.
This intense focus on fine detail has really pushed the hobby forward. Historically, regions with strong collector communities have driven the demand for patented finishing techniques and period-accurate colors, proving that authenticity is king.
Hand-Painting and Final Clear Coats
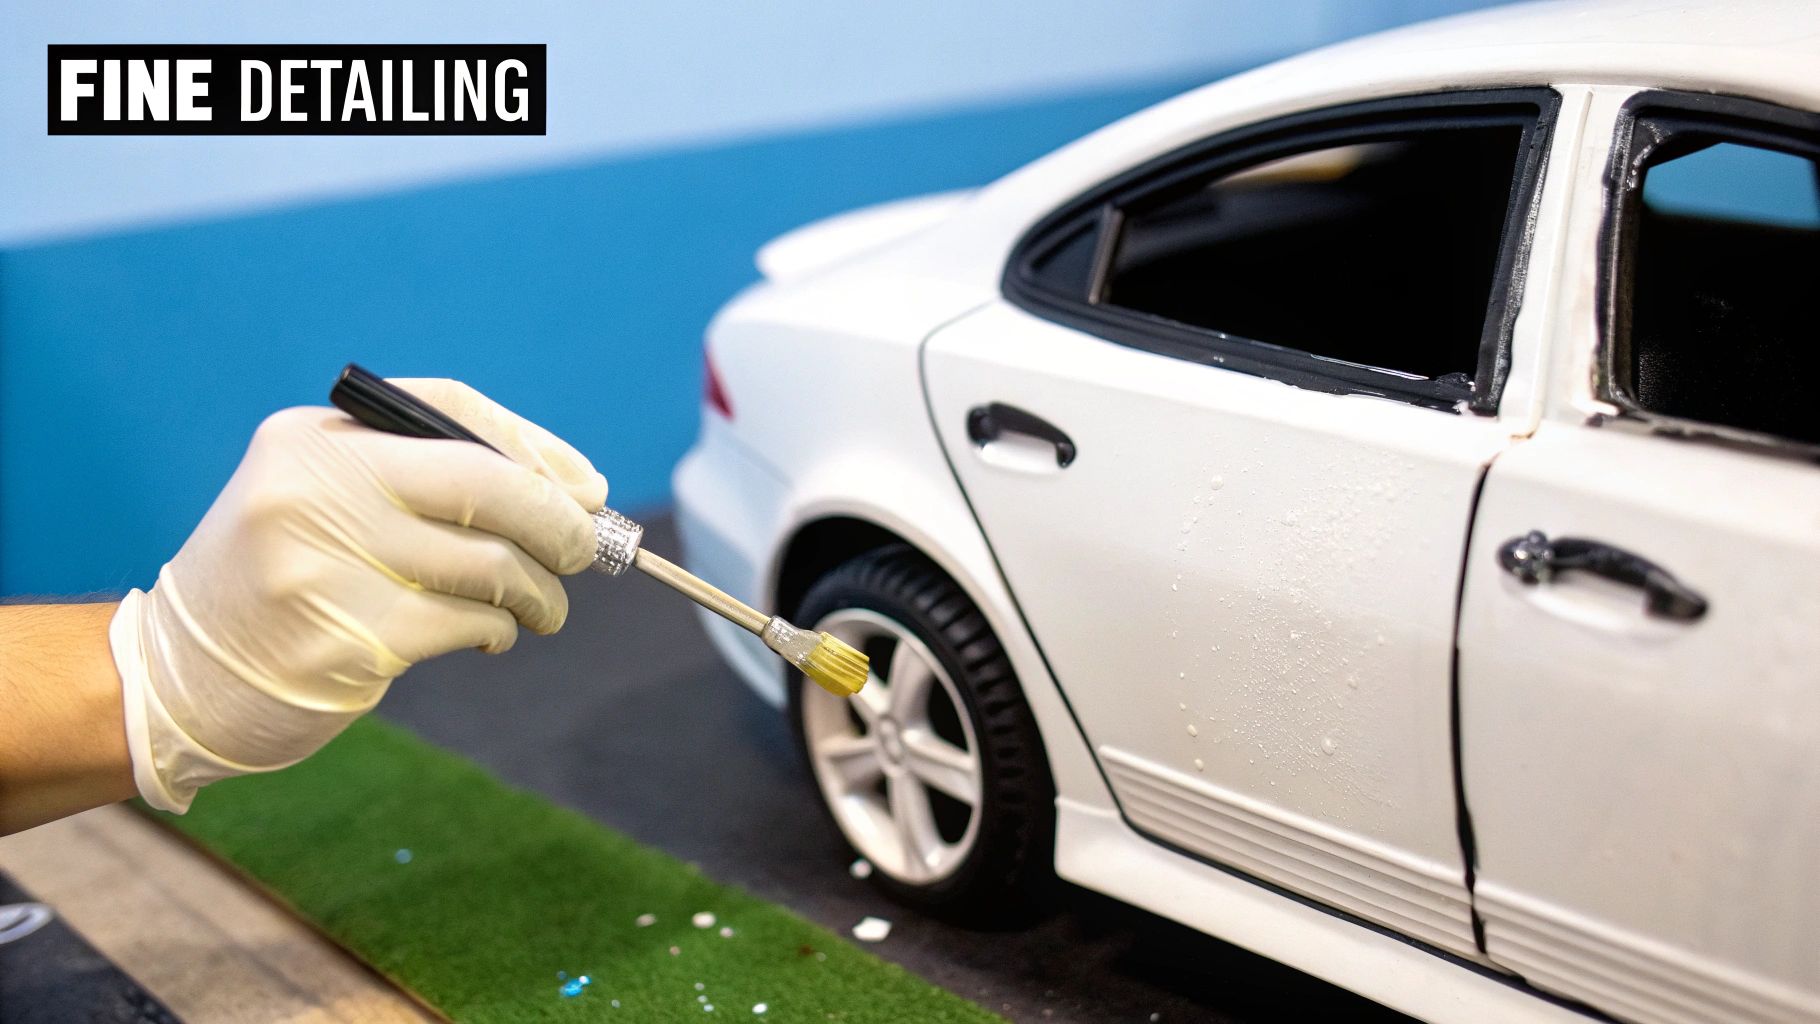
With your main masking complete, it's time to zero in on the smallest details. We're talking about hand-painting the headlights, taillights, grilles, and any tiny emblems. For this, you’ll need a very fine-tipped brush—a size 000 is a fantastic place to start—and a steady hand. I find it helps to brace my painting hand with my other hand to minimize any shaking.
The final, protective step is to apply a clear coat. This does more than just seal and protect all your hard work; it also gives the entire finish a uniform, professional sheen.
Clear Coat Finishes:
- Gloss: This gives you that deep, wet-look shine, perfect for a factory-fresh showroom car.
- Satin: Offers a much more subtle sheen that looks incredibly realistic on many classic or military vehicles.
- Matte: Provides a completely flat, non-reflective finish. This is ideal for "rat rod" styles or specific components like dashboards and tires.
Apply your clear coat using the exact same technique you used for your color coats: several light, misting layers. This approach is key to preventing runs and ensuring a smooth, even finish that puts the final, perfect touch on your project.
Your Diecast Painting Questions Answered
Even with a solid plan, you're bound to run into a few questions and hiccups when you start painting diecast cars. It's just a natural part of the learning curve. This section is all about tackling those common hurdles head-on, giving you clear, practical advice to fix problems and get your project back on track.
What Is the Best Type of Paint for a Beginner?
If you're just getting your feet wet, I always point people toward acrylic paints. They're water-based, which is a huge advantage for cleanup—a little soap and water is all you need. Unlike the powerful fumes from lacquers or enamels, acrylics have a very low odor, making them much more friendly for working at home.
Now, they aren't quite as tough as other paints right out of the bottle, but that's what a good clear coat is for. The forgiving nature and quick drying time of acrylics are perfect when you're just learning the ropes. Brands like Tamiya and Vallejo have an incredible spectrum of colors and offer formulas that work great for both airbrushing and traditional hand-painting.
By starting with acrylics, you can focus your energy on practicing fundamental techniques like achieving even coats and proper thinning without the added complexity of managing harsh chemicals.
How Do I Fix a Paint Run or Drip?
It’s a sinking feeling, watching a drip form on your otherwise perfect paint job. But don't panic—it's almost always fixable with a bit of patience. The single most important rule is to let the paint cure completely. I know the temptation is to wipe it, but trying to fix it while it's wet will just smear the paint and create a much bigger mess. Depending on the paint and how thick the run is, this could take 24 hours or even longer.
Once it's rock hard, you can carefully sand the drip down.
- Start by wrapping a high-grit sandpaper (a 1000-grit is a good starting point) around a small, hard sanding block. This lets you focus all the pressure directly on the raised drip, not the surrounding area.
- Gently sand the run until it feels level with the rest of the paint.
- Work your way up through progressively finer grits—like 1500-grit, then 2000-grit—to polish out any of the initial sanding marks.
- From there, you can either polish the spot back to a high shine or, if needed, apply another super-light coat of color to blend everything in perfectly.
Can I Paint a Diecast Car Without Taking It Apart?
Technically, yes, you can. But if you're aiming for a result that looks professional, I strongly advise against it. When you paint a fully assembled model, it’s nearly impossible to get even paint coverage in all the nooks and crannies, like door jambs, around the window trim, or deep inside the wheel wells.
You're also guaranteed to get overspray on the windows, wheels, and interior bits, which is a dead giveaway of a rushed job. Trust me, the extra time you spend carefully drilling the rivets and separating the body from the chassis is completely worth it. It’s the only way to get that clean, factory-quality finish you're after.
Once your masterpiece is all done, you'll want to show it off. For some great tips on making your custom model look its absolute best, check out our guide on photographing model cars.
At Everything Diecast, we share your passion for creating stunning, one-of-a-kind models. From classic racers to modern supercars, find the perfect canvas for your next custom project in our extensive collection. Explore our new arrivals today at https://everythingdiecast.net.