
Pro Tips for Photographing Model Cars
Photographing a model car isn't just about pointing and shooting. It’s an art form, really. You're using specific gear and clever techniques to trick the eye, turning a miniature collectible into what looks like a full-size, stunning automobile. The real secret is taking control of every single element, from the pinpoint focus on a tiny logo to the way light wraps around the bodywork. That's how you make something small feel truly grand.
Building Your Essential Photography Toolkit
Before you can even think about that perfect shot, you need to gather the right gear. But don't worry, this isn't about some overwhelming list of expensive equipment. We're going to focus on the practical tools that actually make a difference when you're shooting model cars. The goal here is to build a smart, effective kit without breaking the bank.
The heart and soul of your setup is a camera that gives you full manual control. This could be a DSLR or a mirrorless camera—the type isn't as important as its capabilities. Being able to manually adjust the aperture, shutter speed, and ISO is absolutely non-negotiable if you want professional results. It's how you'll master depth of field and exposure, which are the keys to making a tiny car look massive.
Here's a quick look at the basic gear you'll want to have on hand.
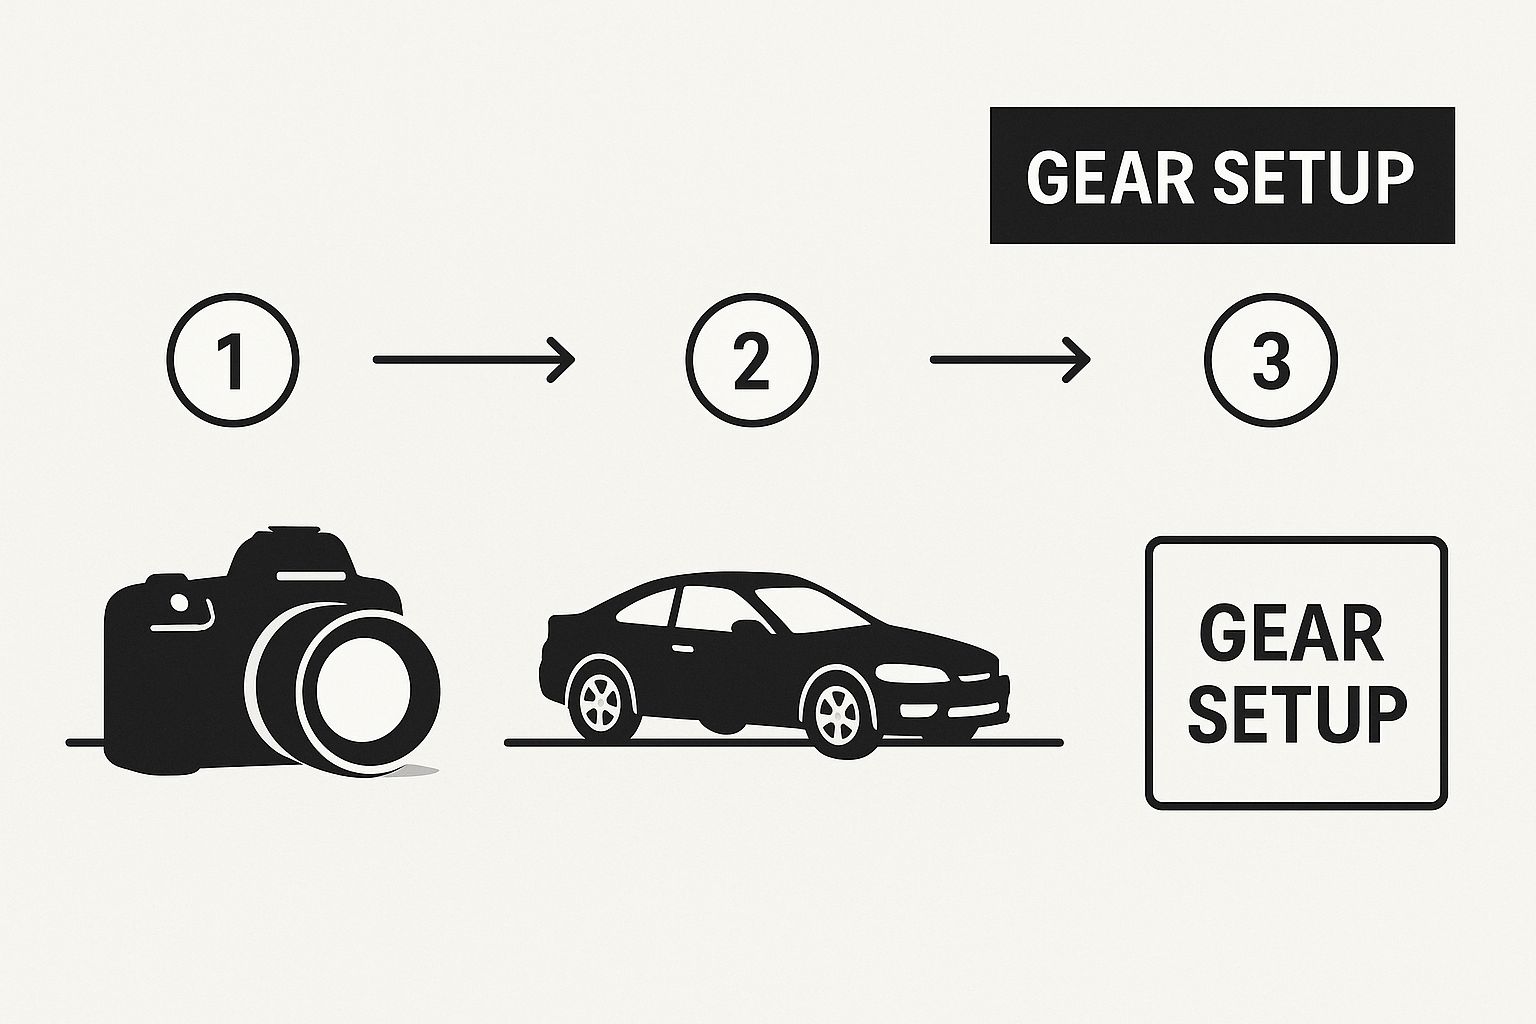
As you can see, a camera with manual controls, a lens that can get up close, and a solid tripod are the three pillars of any great diecast photography session.
The Camera and Lens Combination
While pretty much any camera with a manual mode will get you started, the lens you choose can completely transform your photos. A true macro lens is the undisputed champion for this kind of work. It offers a 1:1 reproduction ratio, which means it can project an image of the model onto your camera's sensor at its actual size. This is how you capture those mind-blowing details—the texture on the dashboard, the fine print on a tire, or the weave in a tiny seatbelt.
If a dedicated macro lens isn't in the budget right now, don't sweat it. A 50mm "nifty fifty" prime lens paired with a set of extension tubes is a fantastic and affordable alternative. Extension tubes are just hollow rings that sit between your camera body and the lens. They decrease the minimum focusing distance, letting you get much closer to your subject for those detailed shots.
Pro Tip: Don't get hung up on the brand name. Whether you shoot with Canon, Nikon, Sony, or Fujifilm, the principles are exactly the same. It's all about how you control your settings and use your lens—your technique matters far more than the tech.
Essential vs. Optional Gear for Your Setup
To get a clearer picture of what you truly need versus what's nice to have, here’s a simple breakdown. Focusing on the essentials first will get you shooting great photos faster, and you can always add the upgrades later as you grow.
| Gear Category | Essential Item | Recommended Upgrade |
|---|---|---|
| Camera | Any DSLR or Mirrorless with manual mode | A full-frame camera for better low-light performance |
| Lens | 50mm prime lens with extension tubes | A dedicated 1:1 macro lens (e.g., 100mm) |
| Stability | A sturdy, basic tripod | Tripod with an articulating center column |
| Trigger | Camera's built-in 2-second timer | A wireless remote shutter release |
This table shows you can start with a very modest investment. The key is mastering the essential items before worrying about the high-end gear.
Essential Supporting Gear
Beyond your camera and lens, a couple of other pieces of equipment are the unsung heroes of sharp model car photography: a sturdy tripod and a remote shutter release.
You'll often be using small apertures, like f/11 or even f/16, to get as much of the car in focus as possible (a deep depth of field). This requires slower shutter speeds to let enough light in, and that's where a tripod becomes indispensable. It completely eliminates camera shake, guaranteeing your images are perfectly crisp and free of any blur.
A remote shutter release (or even just your camera's built-in timer) takes this a step further. It prevents the tiny vibration caused by you physically pressing the shutter button. It’s these small, deliberate details that separate a simple snapshot from a carefully crafted photograph.
Of course, the quality of the model itself matters immensely. For more on what to look for, check out our guide on uncovering the most durable and detailed diecast models. With the global photography services market valued at $55.6 billion in 2023, it's clear that interest in niche fields like this is growing, fueling new tech and possibilities for hobbyists everywhere.
Mastering Light to Achieve Realism
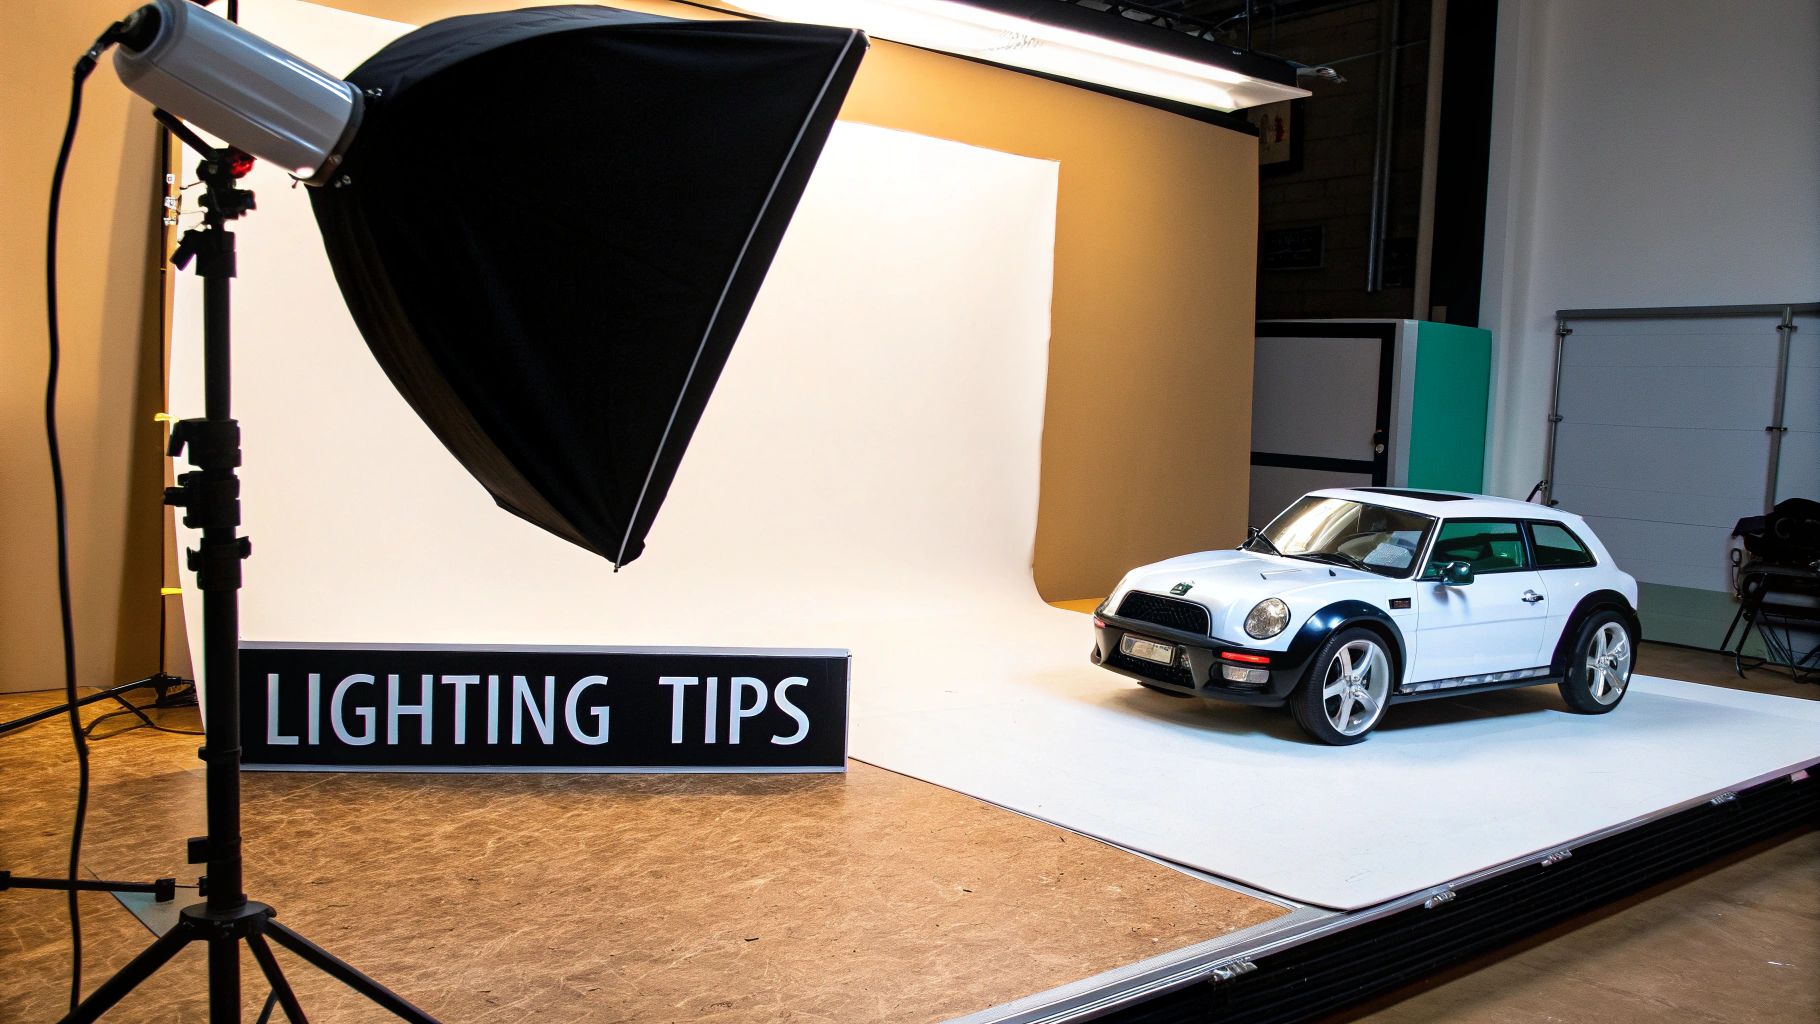 Great lighting is the single most important ingredient for tricking the eye. It's what separates a photo of a toy from a portrait of an automobile. The good news? You don't need a professional studio. You can achieve stunning realism right at home by simply understanding how to shape and control light.
Your main goal is to create soft, diffused light. Harsh, direct light—like an overhead room lamp or the midday sun—creates unnaturally hard shadows and bright hotspots that just scream "miniature." We want to replicate the gentle, wrapping light of an overcast sky or a pro-level softbox.
A simple, large, white bedsheet or a piece of white foam core can be your most powerful tool. By placing your light source (like an LED panel or even a basic desk lamp) behind the sheet, you instantly soften and spread it out. This scattered light minimizes ugly reflections and creates those beautiful, gradual transitions from light to shadow on the car’s body.
Choosing Your Light Source
When you're starting out, any adjustable light source can get the job done. But as you get more serious about photographing model cars, investing in dedicated lighting will make a night-and-day difference.
- LED Panels: These are fantastic for beginners. They're affordable, don't get hot, and what you see is what you get. This makes it incredibly easy to adjust their position and see the effect in real-time. Many are even dimmable and have adjustable color temperatures.
- Speedlights (Flashes): These offer a ton more power and control, but they do come with a steeper learning curve. You'll need to use them off-camera with wireless triggers and modifiers like small softboxes to really get the best results.
No matter what you choose, always avoid your camera's pop-up flash. It produces flat, boring light that kills any sense of depth and realism.
A key takeaway for realism is using light to define shape. A single large, soft light source positioned to the side and slightly above the model is a classic starting point. This setup mimics natural light and beautifully sculpts the car's contours.
Building a Two-Light Setup
Once you're comfortable with a single light, adding a second one opens up a world of creative possibilities. This isn't about just blasting the car with more light. Instead, each light should have a specific job.
Your main light, or key light, is still your primary source. It defines the main exposure and creates the dominant shadows. The second light, which can be a fill light or a rim light, is used much more subtly.
Positioned on the opposite side and set to a lower power, a fill light can gently lift the shadows, revealing more detail without making the image look flat. Alternatively, placing that second light behind the car can create a "rim" of light along its roofline and rear, which helps separate it from the background and adds a dramatic, polished feel.
Just as a photographer meticulously places their lights, a collector carefully chooses their models. For those just getting started, our guide on how to start your diecast collection offers some great insights into selecting quality pieces worth photographing. This careful selection ensures your subject is as impressive as your lighting.
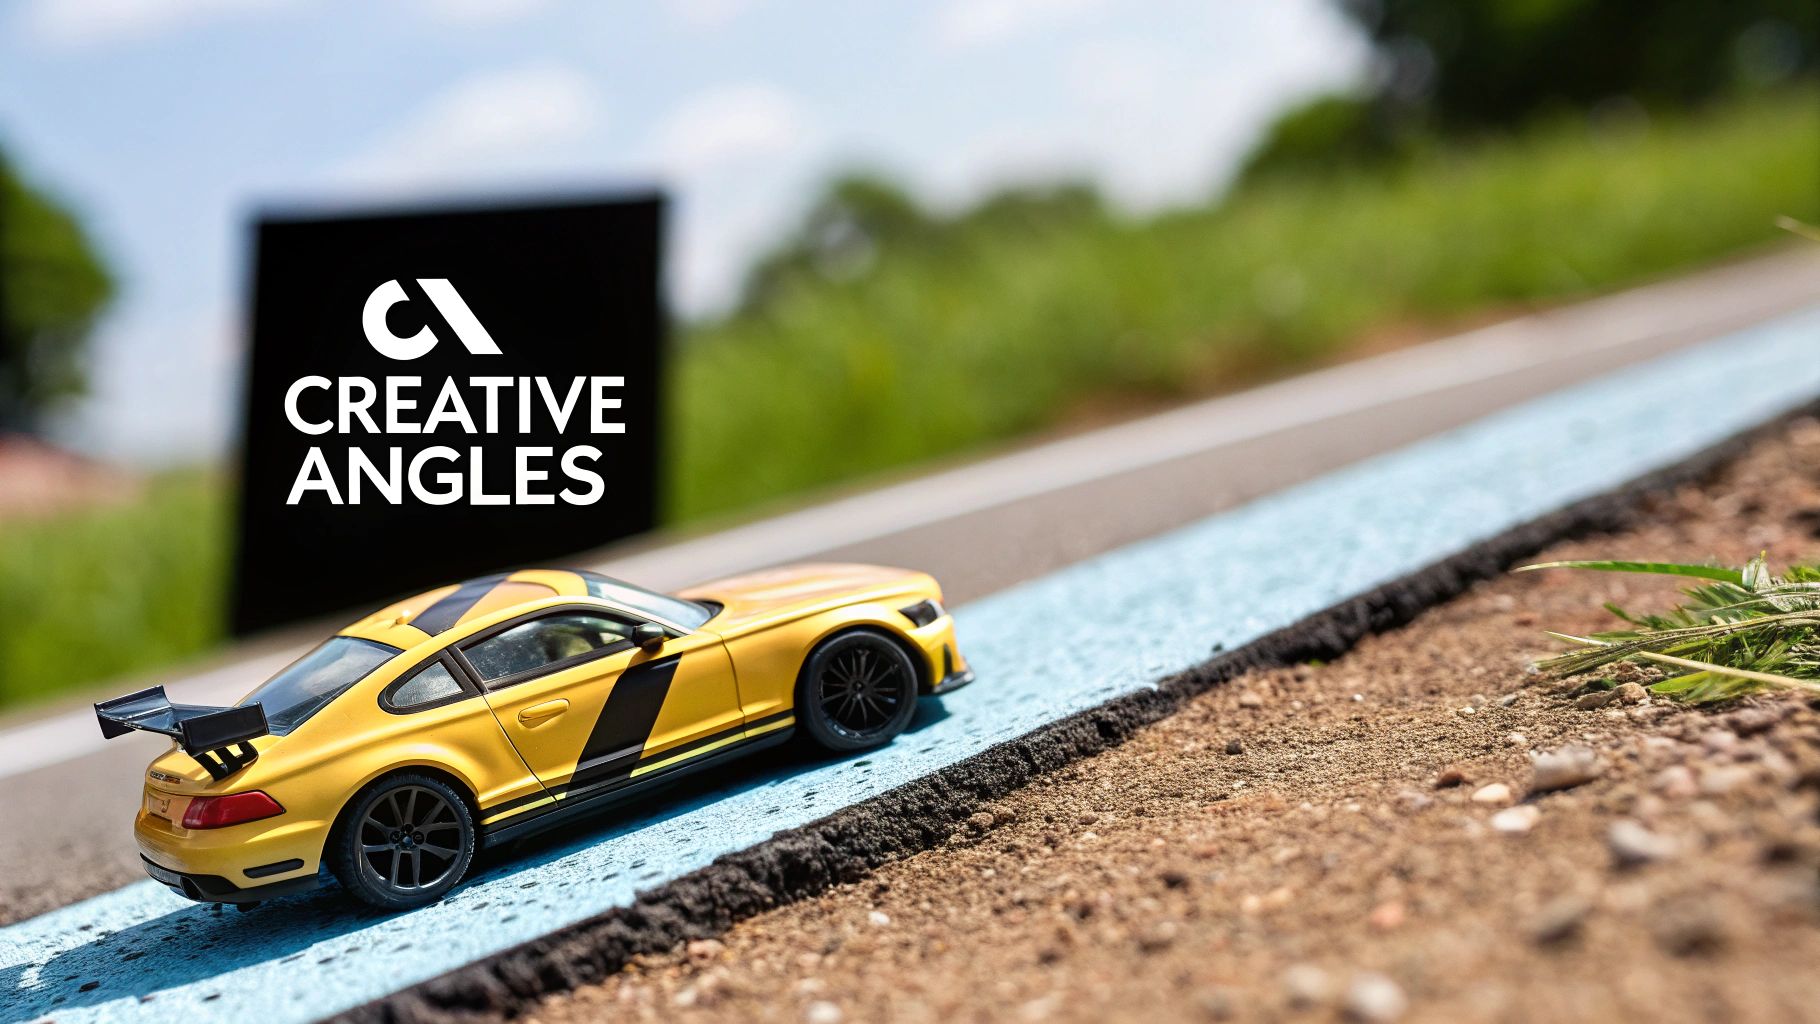
Finding Angles That Create Impact
A great photo tells a story, and the angles you choose are your primary storytelling tool. When you're photographing model cars, your camera's position is what completely transforms a miniature into a commanding presence. It's the difference between a simple snapshot and an image with genuine force and realism.
The single most effective change you can make is to get your camera low. Seriously. Think about how you see real cars—you see them from ground level, not from a bird's-eye view. The moment you lower your camera to the model’s “headlight level,” you instantly create a believable sense of scale. This one move is the foundation for making a small object feel massive and important.
Once you're down at that low vantage point, you can start playing with the classic automotive angles that photographers use to evoke different moods and highlight specific features on full-size cars.
Key Automotive Photography Angles
Certain angles are staples in car photography for a reason—they just work. Applying them to your models will immediately give your shots a more professional feel.
- The Three-Quarter Front View: This is the quintessential hero shot. Position your camera so you can see both the front and one side of the car. This angle is perfect for showing off its design language, from the grille and headlights to its overall profile. It’s the best way to get a powerful, comprehensive portrait of your model.
- The Profile Shot: A direct side-on view is all about emphasizing the car’s length, wheelbase, and silhouette. This works fantastically for highlighting the sleek, flowing lines of a sports car or the powerful stance of a pickup truck.
- The Low Rear Shot: Shooting from a low angle behind the car is pure drama. It creates a sense of speed and power, making the car look like it’s about to launch off the line. This view really accentuates the width of the rear tires and the design of the taillights and exhaust.
Remember, every angle tells a different story. A straight-on headshot can feel aggressive and confrontational. A high-angle shot can make the car feel smaller, almost like a map of its design. Don’t be afraid to constantly move your camera—and the model—around to see what works.
Using Composition to Guide the Eye
Beyond just the angle, you need to think about how you arrange everything inside the frame. An easy win is using leading lines—things like the edge of a curb or a painted line on your diorama road—to draw the viewer’s eye directly to the car. It creates a natural path for the eye to follow, putting the focus right where you want it.
Another powerful technique is framing. Try shooting through a gap in a miniature fence or under a small-scale bridge. This adds a ton of depth to your scene and makes the viewer feel like they’re peeking into a real-world moment, which sells the illusion you're creating. This kind of creative detail is becoming more common as niche photography grows. In fact, trends point towards increasing specialization, where fields like model car photography are gaining more traction. You can read more about these trends in the 2025 State of the Photography Industry Report.
Creating Believable Backgrounds and Scenes
The world your model car inhabits is just as important as the car itself. Get the background right, and you sell the illusion of a real car in a real place. Get it wrong, and the whole shot falls apart.
Thankfully, you've got a ton of options, from dead-simple setups to incredibly detailed miniature worlds.
For a clean, classic “studio” look, you can't go wrong with a roll of seamless white or black paper. This creates a simple, distraction-free backdrop that puts all the focus squarely on the model’s design lines. It’s my go-to method for commercial-style product shots.
But if you want to truly bring your model to life, you’ll need to build a scene.
Crafting Miniature Worlds
This is where diecast photography gets really creative. You don't need to be a master artist to get fantastic results, either. The secret is to think about texture and scale.
Simple materials can make a massive impact. I've used a piece of fine-grit sandpaper to create a surprisingly convincing asphalt road. A little fine sand and a few tiny pebbles can instantly build a desert rally stage right on your tabletop.
For more ambitious scenes, I always turn to the world of model railroading. That hobby is an absolute goldmine for scenic materials that are perfect for our needs:
- Static Grass: Essential for creating realistic-looking fields or grassy roadsides.
- Miniature Trees and Bushes: These add crucial depth and help create the feeling of a much larger environment.
- Textured Sheets: You can buy plastic sheets already molded to look like brick walls, cobblestone streets, or concrete barriers.
These elements help you build a world that feels authentic. Your camera’s selective focus will naturally blur these background elements just enough to sell the illusion. If you’re ready to really dive in, you might find our guide on how to build dioramas useful for more advanced techniques.
Pro Tip: Use forced perspective. It's a classic trick for a reason. Place smaller-scale items, like tiny bushes or N-scale model railroad buildings, further back in your scene. This simple technique tricks the eye and makes your background feel much larger and more distant than it actually is.
The Digital Background Trick
What if you want to place your car on the streets of Tokyo or a winding Alpine pass without leaving your desk? There’s a clever digital shortcut for that. All you need is a high-resolution computer monitor, a large tablet, or even your TV.
Just find a high-quality photo of the location you want and display it on the screen. Then, place your model car on a surface that matches the foreground of the image—a piece of black acrylic works wonders for a wet-road look, for example. It takes a bit of work to match the lighting and camera angles, but when you get it right, the results can be stunning. You can instantly transport your model anywhere in the world.
It's amazing how much the real automotive world influences our hobby. The global automotive camera market is projected to hit $11.07 billion in 2025, which shows how much money is being poured into real-world car imaging. That tech eventually inspires us hobbyists, giving us better tools and fresh ideas for our own scale model photography.
Editing Your Photos for a Professional Finish
The final bit of magic happens long after the camera has been put away. This is where you step into the digital darkroom and transform a good shot into a truly incredible image, refining it to match the quality of professional automotive photography. Your editing software, whether it's Adobe Lightroom or Capture One, is just as vital as your camera in this process.
The goal isn't to create a fake-looking photo but to enhance what you've already captured. We're talking about subtle, deliberate adjustments that elevate the realism and pump up the visual impact of your work. It all starts with foundational edits that correct any small issues from the shoot.
Foundational Editing Adjustments
Before you get creative, it’s absolutely crucial to get the basics right. Think of this as laying down a solid foundation for every other edit you'll make. These small tweaks make a massive difference in the overall quality and polish of the final image.
- White Balance Correction: Cameras sometimes get confused by the color of your lights, leaving an ugly blue or yellow tint over everything. An easy fix is to use the white balance dropper tool on a neutral gray or white part of your image. This instantly corrects the colors across the entire photo.
- Exposure and Contrast: Even with careful metering, your shot might be a touch too dark or bright. Make small adjustments with the exposure slider. Then, gently nudge the contrast up to make the highlights pop and the shadows deeper, which really adds depth to the car's body.
- Cropping and Straightening: Use the crop tool to tighten up your composition and slice away any distracting elements creeping in from the edges. Most importantly, make sure the surface the car sits on is perfectly level. A slightly crooked photo is a dead giveaway of an amateur shot.
These initial steps are non-negotiable for anyone serious about photographing model cars. They ensure your image is clean, balanced, and technically sound before you dive into the more advanced stuff.
Advanced Techniques for Ultimate Realism
With the basics locked in, you can now focus on the edits that truly sell the illusion. This is where you tackle the common challenges of miniature photography and add those subtle artistic touches that bring your tiny subject to life.
A game-changing technique here is focus stacking. Even if you shoot at a high f-stop like f/16, getting an entire model car perfectly sharp from bumper to bumper in a single photo is nearly impossible. Focus stacking is the solution. You take multiple shots, each focused on a different part of the car—the front wheel, the door, the rear wheel—and then merge them in software like Photoshop. The result is one image that is tack-sharp everywhere.
Another powerful edit is meticulous cleanup. Don't be afraid to zoom in to 100% and use a spot healing brush to hunt down and remove every last speck of dust, tiny fingerprint, or paint imperfection on the model. This level of obsessive detail is what separates a quick snapshot from a professional-grade automotive portrait.
Finally, you can play with subtle effects. Consider adding a soft, realistic glow to the headlights or a touch of radial blur to the wheels to imply motion. The quality of your editing can be just as impactful as the paint job on the model itself. If you want to save yourself some time in post-production by getting the car perfect beforehand, you can learn more from our guide on model painting techniques.
Frequently Asked Questions About Model Car Photography
Even when you feel like you have a handle on the right gear and lighting, you’ll inevitably run into specific questions once you start shooting. It's just part of the process. Getting good answers to these common hang-ups is what separates a frustrating photoshoot from a successful one. Let's dig into some of the most common issues photographers run into.
A big one is always how to make a tiny model look like a real, full-size car. There's no single magic trick here; it’s really about combining a few key techniques until they all work together seamlessly.
It all begins with your camera angle. You have to get low—I mean really low. Think "headlight level." This perspective is the single fastest way to trick the viewer's brain and create a believable sense of scale. If you shoot down from above, it's always going to look like a toy on the floor.
How Do I Get the Whole Car in Focus?
It’s a classic problem: the front bumper is perfectly sharp, but the back half of the car is a disappointing, blurry mess. This is a depth of field issue, and thankfully, it's one you can control directly through your camera's aperture settings.
To get that front-to-back, tack-sharp look, you need to use a small aperture. On your camera, this means dialing in a high f-stop number, like f/11, f/16, or even as high as f/22. This physically narrows the opening in your lens, which expands the depth of field and keeps more of your subject in focus.
The trade-off is that a smaller aperture lets in far less light. You'll need to compensate with a much longer shutter speed, which is exactly why a solid, sturdy tripod is absolutely non-negotiable for this kind of work.
What's the Best Lens for Model Car Photography?
While you can get decent results with a variety of lenses, one type truly stands out if you're serious about capturing miniature details with incredible clarity: a macro lens.
A true macro lens is designed to focus extremely close, letting you fill the entire photo with tiny features you might otherwise miss, like the text on dashboard gauges or the intricate patterns on wheel spokes. From my experience, a lens with a focal length somewhere around 100mm hits a versatile sweet spot for this kind of photography.
But don't worry if a dedicated macro lens isn't in the budget right now. A fantastic and affordable alternative is using extension tubes with a standard prime lens, like a 50mm. These are simple, hollow tubes that fit between your camera body and your lens. They reduce the minimum focusing distance, allowing you to get surprisingly impressive close-up shots without breaking the bank.
How Can I Stop All These Distracting Reflections?
Shiny diecast paint is a reflection magnet. Nothing ruins a great shot faster than seeing your own face or the clutter of your room staring back at you from the car's door. Learning to manage these reflections is a critical skill.
Your number one tool in this fight is a Circular Polarizing Filter (CPL). This filter screws onto the front of your lens, and by simply rotating it, you can dramatically cut down on glare and reflections from surfaces like the car's paint and windows. It's an absolute game-changer.
Beyond filters, you have to be mindful of your surroundings. You can use black or white foam core boards—placed just outside the frame—to control what the car is "seeing" and reflecting. Sometimes, just a tiny shift in your camera's angle or position is all it takes to make a nasty reflection vanish. For more tips and tricks, you can always check our frequently asked questions page for extra guidance.
At Everything Diecast, we not only provide the tips to photograph your collection but also the high-quality models that deserve to be in the spotlight. Find your next centerpiece at https://everythingdiecast.net.