Pro Model Car Painting Techniques
Ask any seasoned builder what the secret to a show-winning paint job is, and they probably won't start by talking about the final clear coat. The real magic, the kind that separates a good model from a great one, happens long before the color even comes out. It’s all in the prep work: erasing seam lines, getting the plastic surgically clean, and laying down the right primer.
This foundational stage is what turns a basic plastic kit into the perfect canvas for your paint.
Building the Perfect Canvas for Paint
Think of a model car body straight out of the box like a rough diamond. It has all the potential in the world, but its brilliance is buried under tiny imperfections. Your first job—and the most critical part of any high-quality paint job—is to transform that raw plastic into a flawless surface.
This is the part of the build where many people rush, and trust me, it always shows in the end. This initial work really breaks down into three core tasks: construction cleanup, surface cleaning, and priming. Each one is a crucial link in the chain that leads to a smooth, durable, and professional-looking finish.
Tackling Seam Lines and Imperfections
Almost every plastic model kit has seam lines where the two halves of the steel mold met during manufacturing. Leaving these visible is the fastest way to make an incredible replica look like a cheap toy. Job number one is to make them disappear.
After carefully gluing the main body parts together and letting the cement fully cure, grab a hobby knife. Gently scrape away the raised ridge of the seam line. After that, it's all about sanding. I like to start with a coarser grit, maybe 400, and work my way up to a super-fine grit like 1500 or 2000. The goal is simple: make the seam completely vanish, leaving a surface that’s glassy-smooth to the touch and totally invisible.
Pro Tip: When sanding, use a crisscross pattern over the seam. This little trick helps you avoid accidentally sanding a flat spot or a groove into the plastic, which is essential for preserving the body's natural curves.
The Importance of a Deep Clean
Here’s something a lot of new builders don't know: model kits are coated with mold release agents at the factory. This oily residue is what keeps the plastic from sticking to the molds, and even a trace of it will repel paint and completely ruin your finish. A simple wipe-down won't cut it.
- Dish Soap and Water: The best method I've found is a good old-fashioned bath with warm water and a mild dish soap (like Dawn). I use a soft-bristled toothbrush to gently scrub the entire body, really getting into those panel lines and crevices where the oils love to hide.
- Rinse and Dry: Rinse the body thoroughly with clean water to get all the soap off. Then, you have to let it air dry completely—I give it at least 24 hours. You can speed this up with a can of compressed air, but whatever you do, don't wipe it with a cloth. You'll just leave lint all over your perfectly clean surface.
Demystifying Primer Selection
Primer is not optional. It’s non-negotiable. It does two critical things: it gives your color coat something to grab onto for a durable bond, and it acts as a "truth-teller," revealing any tiny surface flaws you might have missed during sanding. The primer you choose really depends on the condition of your model's body.
The quality of hobby paints and primers has come a long way, mirroring what's happening in the real automotive world. For perspective, the global automotive paint market was valued at USD 9.73 billion in 2024 and is on track to grow significantly. This massive industry drives innovation in paint technology, and we modelers get to benefit from the high-quality, specialized primers that trickle down. If you're curious about the bigger picture, you can learn more by checking out the full automotive paint market report on Research Nester.
Choosing the right primer is a key technique in itself. To make it easier, here’s a quick guide to the most common types and where they shine.
Primer Selection Guide for Model Cars
This table breaks down the different primers I keep on my bench and helps explain when and why I reach for each one.
| Primer Type | Primary Use Case | Best For | Pro Tip |
|---|---|---|---|
| Filler Primer | Hiding deep scratches and minor surface imperfections. | Bodywork that required heavy sanding or has noticeable flaws. | Apply in several light coats, sanding between each coat to build a smooth base. |
| Fine Surface Primer | Providing excellent adhesion and a micro-smooth finish. | A perfectly prepped body with no visible scratches or flaws. | Use for achieving the smoothest possible finish before applying delicate metallic or pearl paints. |
| White or Grey Primer | Influencing the final color's brightness. | Bright colors like yellow, red, or orange (use white). Most other colors (use grey). | White primer makes top colors pop, while grey provides a neutral base that won't alter most hues. |
| Black Primer | Creating pre-shading and adding depth. | Dark metallic finishes or creating dramatic shadow effects in panel lines. | Often used as a base for "black-basing" techniques to create realistic color modulation. |
By dedicating real time and effort to these foundational steps, you're setting yourself up for success. You’re ensuring that every layer of paint you apply later has the best possible chance to look its absolute best. This meticulous prep work is the true secret behind a model car that stops people in their tracks.
Choosing the Right Paint for Your Project
With all that meticulous prep work behind you, we get to the fun part—picking the color. But choosing the right paint for your model car is about so much more than just finding that perfect shade of candy apple red. The actual chemistry of the paint is what dictates its behavior, how it dries, and the kind of finish you'll end up with.
The world of model car painting is dominated by three main players: lacquers, enamels, and acrylics. Each one has its own personality, and learning their strengths and weaknesses is the real key to getting a professional-looking result. In fact, most experienced builders I know, myself included, will often use all three on a single project, leveraging their unique properties for different parts of the build.
Understanding the Three Main Paint Types
The paint you choose fundamentally changes your workflow, from how long you have to wait between coats to how you clean your airbrush. There's no single "best" paint—only the best paint for the specific job you're doing. Think of them as different tools in your toolbox.
Here’s a look at the three heavy hitters:
- Lacquers: These are the sprinters of the model paint world. Known for their super-fast drying times and "hot" solvents, lacquers chemically bite into the plastic or primer underneath, creating an incredibly hard and durable finish. They're legendary for their ability to be polished to a mirror shine, making them the go-to for glossy car bodies.
- Enamels: The old-school workhorse for many modelers, enamels are oil-based paints that give you a tough, self-leveling finish. They take their sweet time to cure—sometimes 24 hours or more—but that slow dry time is a huge advantage for hand-brushing, as it lets brush marks smooth themselves out.
- Acrylics: These water-based paints have come a long way over the years. We love them for their low odor and easy cleanup with just water or a special acrylic cleaner. While they aren't as tough as lacquers right out of the bottle, they are absolutely perfect for interiors, chassis details, and other parts that won't be handled much.
Lacquers: The Choice for a Hard-Shell Finish
When I’m building a replica of a showroom car with that deep, liquid-gloss finish, I almost always reach for lacquer paint for the body. The biggest reason is its durability and how beautifully it responds to sanding and polishing. Lacquers dry so quickly that you can often lay down multiple coats in a single painting session.
But you have to respect their aggressive solvents. You must use a good, lacquer-safe primer because these "hot" paints can easily craze or melt bare plastic. For thinning, you'll need a dedicated lacquer thinner. A good starting point for your airbrush is a 1:1 paint-to-thinner ratio, but I always test on a plastic spoon first to dial it in for my specific conditions.
The real magic of lacquer is its resilience. Once it's fully cured, it's tough enough to handle wet-sanding and aggressive polishing compounds. This is non-negotiable if you're chasing that flawless, show-winning shine.
This push for tough, specialized coatings actually mirrors what's happening in the real automotive industry. Painting operations account for over 80% of emissions from car manufacturing, mostly from solvent-based paints. This has led to a major shift toward waterborne coatings to cut down on volatile organic compounds (VOCs), a trend that has influenced the hobby world's own move toward safer, more advanced paint systems. You can dive deeper into these automotive paint market shifts on Virtue Market Research.
Enamels and Acrylics: The Versatile Workhorses
While lacquers might rule for glossy bodies, enamels and acrylics play essential roles elsewhere on the model. I often grab enamels for engine blocks or chassis parts where I want a durable, semi-gloss finish that looks authentic. Their slow drying time is a bonus here, giving the paint plenty of time to level out perfectly over all those complex shapes. Just be sure to thin them with mineral spirits or a dedicated enamel thinner.
For interiors, dashboards, and all those fiddly little details, acrylics are my go-to. Their low-fume nature makes them much more pleasant to work with, especially when I'm hand-brushing small parts at my workbench. When it's time to airbrush, you can thin most acrylics with a bit of distilled water or their brand's proprietary thinner. A ratio of around 70% paint to 30% thinner is a solid starting point.
Ultimately, mastering model car painting means knowing which paint to deploy and when. Once you get a feel for the distinct characteristics of lacquers, enamels, and acrylics, you can make smarter choices that will elevate the realism and quality of your build, from the inside out.
Mastering Your Paint Application
 With a perfectly primed surface ready to go, we’re at the part where your model truly starts to come alive. How you lay down the paint is just as critical as the color you've chosen. The right application technique is what separates a pretty good paint job from one that looks like it just rolled off a real assembly line.
There are three main tools for this job: the airbrush, the rattle can, and the hand brush. While most of us swear by an airbrush for its incredible control, you can get stunning results with any of them. The secret is knowing where each tool shines and how to play to its strengths.
Airbrushing For a Factory-Fresh Finish
When you're chasing that smooth, even, factory-quality shine on a car body, nothing really comes close to an airbrush. It atomizes paint into an unbelievably fine mist, which lets you build up color in thin, controllable layers. This process is the key to avoiding thick coats that can swallow up all those fine details.
You'll be wrestling with two main variables here: air pressure and paint consistency.
- Air Pressure: For most acrylic and lacquer paints, a great starting point is between 15-20 PSI (pounds per square inch). If you spray with the pressure too high, the paint can actually start to dry before it hits the plastic, leaving a rough, sandy texture. Too low, and you risk the paint spattering instead of spraying.
- Paint Consistency: You're aiming for the consistency of skim milk. Paint straight from the bottle is almost always too thick for an airbrush. You’ll need to thin it with the correct thinner for its type. Always—and I mean always—test your spray pattern on a piece of scrap plastic or an old plastic spoon before you even think about pointing it at your model.
When you start spraying the model, keep the airbrush moving in smooth, parallel passes, overlapping each one just slightly. It's always better to apply two or three light "mist" coats than to try and get full coverage in one heavy, wet coat. This is one of the most vital model car painting techniques to learn if you want to prevent ugly runs and sags.
Achieving a Smooth Rattle Can Finish
Don't have an airbrush? No worries. You can pull off a surprisingly professional finish with a high-quality spray can, or "rattle can," as they're often called. The trick is all about control and a little bit of prep. A spray can nozzle delivers way more paint than an airbrush, so your technique is everything.
Never start or stop spraying directly on the model. Begin your pass off to the side, sweep across the model in one continuous motion, and only stop spraying after you've passed the other side. This simple habit prevents the dreaded paint blobs that happen right at the start and end of a spray.
A great tip is to warm the can first. Just place it in a bowl of warm (not hot!) water for about 10-15 minutes. This little step increases the internal pressure and helps the paint atomize more finely, giving you a much smoother coat. Just like with an airbrush, apply several light coats instead of one heavy one, and give it proper drying time in between.
The Art of Hand-Brushing Details
While you probably wouldn't hand-paint an entire car body, a high-quality detail brush is a must-have for the smaller parts of your build. I'm talking about dashboards, seat details, engine blocks, and window trim. The goal is simple: apply paint smoothly without leaving behind obvious, distracting brush marks.
Here are a few tips to get you there:
- Use the Right Paint: Slower-drying paints like enamels or specific acrylics designed for hand-brushing are perfect. They have more time to "self-level," which means the brush strokes naturally flatten out as the paint dries.
- Thin Your Paint: Just like with airbrushing, you need to thin your paint. A small drop of the right thinner or a retarder will help it flow smoothly off the brush.
- Use a Quality Brush: A good sable or high-end synthetic brush with a fine point is an investment you won't regret. It holds paint better and releases it more evenly than a cheap brush from a craft store ever will.
By understanding what each application method is good for, you can pick the right tool for every part of your project. The result will be a model that looks authentic from its chassis to its roof. For those looking to dive even deeper, our guide to advanced model painting techniques explores more specialized methods.
Executing Flawless Two-Tone Finishes
A single, glossy color on a model is nice, but if you really want to make a build pop, it's all about those crisp, multi-tone finishes. Whether you're laying down iconic racing stripes, faking a classic vinyl top, or creating a wild custom graphic, the secret to a pro-level result is all in the masking. This is where your precision and patience really pay dividends, turning a good paint job into a showstopper.
The absolute foundation of any two-tone paint job is a fully cured base coat. This part is non-negotiable. I’ve seen it happen too many times: someone gets impatient, slaps masking tape over paint that isn't rock-hard, and then peels up the first layer of color right along with the tape. It’s a disaster. I always give my base coat, especially if it's a slow-curing enamel, a bare minimum of 48-72 hours to cure completely before I even think about masking it.
Choosing Your Masking Tools
Believe me, not all masking tapes are created equal. That blue painter's tape from the hardware store? It’s far too aggressive for the delicate finish on a model and will almost certainly lift or damage your paint. You absolutely need to invest in hobby-specific masking tapes, which are designed with a much lower-tack adhesive.
Let's say you're working on a '69 Camaro and want to add those classic rally stripes. You’ll want a couple of different tapes in your arsenal:
- Standard Masking Tape: High-quality, low-tack tapes are your workhorse for covering the large areas you need to protect from overspray.
- Flexible Masking Tape: This stuff is usually vinyl-based and it's your best friend for getting around the subtle curves of a car body without wrinkling or pulling up. It’s essential for creating those clean, flowing lines.
- Liquid Mask: For ridiculously complex shapes or areas with lots of fiddly details, a liquid mask that you paint on and then peel off can be a total lifesaver.
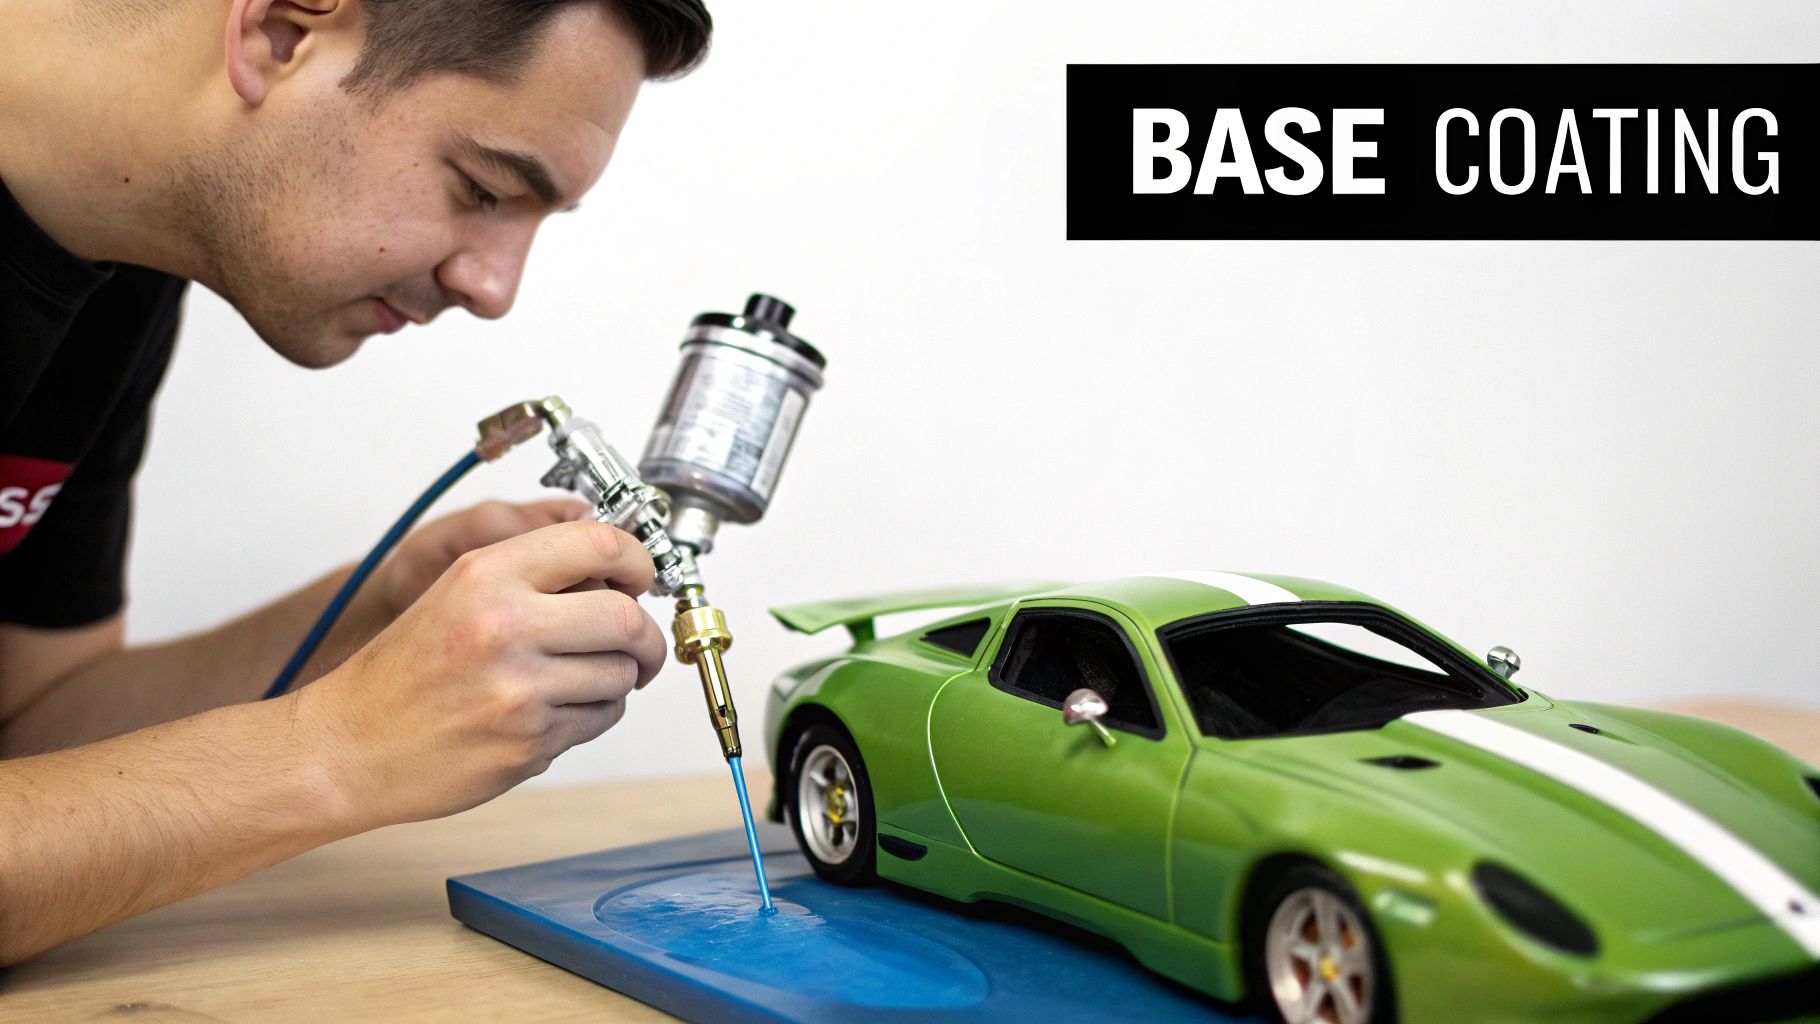
This image here does a great job of showing the general workflow for this kind of layered paint job, from the base coat all the way to the final clear coat.
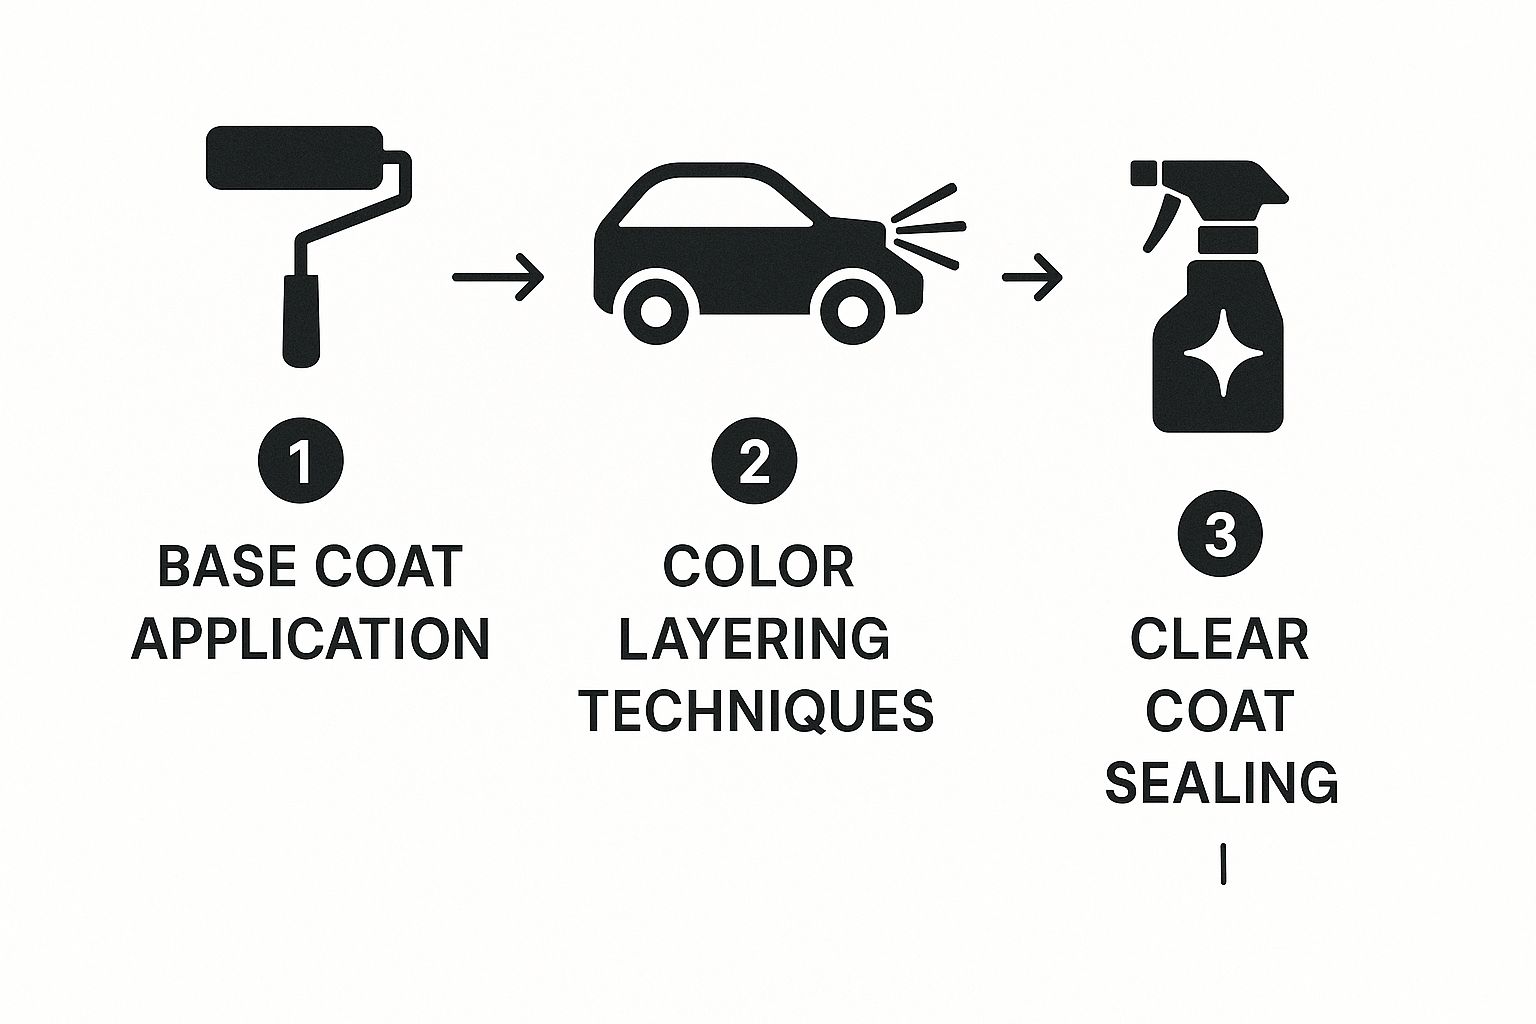
As you can see, each stage builds on the one before it, which really drives home why a solid, fully cured base is so critical before you start layering on more color.
The Art of a Sharp Paint Edge
Once your base color is cured and you’re ready to mask, the real challenge begins. The number one enemy of a two-tone paint job is paint bleed. This is when your second color seeps under the edge of the tape, leaving you with a fuzzy, amateur-looking line. The key to stopping this is to burnish your tape edges.
After you've laid down the tape to define your stripes, take a toothpick or a plastic burnishing tool and run it firmly along the edge of the tape. This simple action presses the tape down securely and seals that edge, leaving no little gaps for the paint to creep into.
Pro Tip: Always spray your second color in several very light mist coats. A heavy, wet coat is just asking for trouble—it will pool against the tape edge and dramatically increase the chance of bleeding, no matter how well you burnished it.
Another thing you have to consider is the order of your colors. A widely accepted best practice in the modeling world is to always paint your lighter color first. For our Camaro project, you would paint the entire body white, mask off the areas that will remain white (the stripes), and then spray the black. This approach prevents the darker color from showing through the lighter one, which would otherwise take a ton of extra coats to cover up properly.
When your second color is dry to the touch, it’s time for the big reveal. Pull the tape off slowly, pulling it back on itself at a sharp angle. This is the moment of truth, where you get to see that razor-sharp line you worked so hard to create.
For anyone just getting into this, learning how to paint diecast cars provides a fantastic foundation before you tackle more complex multi-color schemes. Once you master these masking and layering techniques, you unlock a whole new level of customization and realism for your builds.
Adding Realism Through Weathering
A flawless, mirror-like shine is one way to go, but for many of us, the real magic happens when a model tells a story. That’s where the art of weathering comes in—the process of taking a pristine model and giving it the subtle (or not-so-subtle) look of a life well-lived on the road.
Weathering is what transforms a simple replica into a miniature piece of history. It’s the difference between a car that looks like it just rolled off the showroom floor and one that looks like it barely survived a 24-hour endurance race, was just dragged out of a barn, or simply bears the marks of a daily driver.
Bringing Out Details With Washes
One of the simplest yet most powerful weathering techniques is the panel line wash. A wash is just a heavily thinned paint that you flow over the model’s surface. Gravity does the rest, pulling the thinned paint into recessed areas like panel lines, vents, and door jambs. This creates instant depth and shadow, making those fine details pop in a way a single coat of paint never could.
You can buy pre-made washes, but mixing your own is dead simple. I usually grab an enamel or oil-based paint and thin it way down with the right thinner. A good starting point is a 1 part paint to 10 parts thinner ratio. The trick is to apply the wash over a gloss clear coat; this smooth, non-porous surface lets the wash flow exactly where you want it. It also makes cleaning up any excess a total breeze with a cotton swab lightly dampened in thinner.
Applying a wash is a game-changer. It’s the step that makes a car body stop looking like a single piece of plastic and start looking like it’s assembled from dozens of individual metal panels. The effect is immediate and incredibly satisfying.
Creating Authentic Grime and Dust
For convincing layers of dirt, mud, or road dust, we need to break out two more tools: weathering pigments and oil paints. Pigments are just finely ground colored powders you can apply directly to the model for different effects.
- Dry Pigments: For a dusty look, just brush dry pigments onto a matte surface. I like to focus on areas where dust would naturally settle, like the lower body panels, inside wheel wells, and on the chassis.
- Wet Pigments: To get that caked-on mud look, mix pigments with a little water or an acrylic binder to form a paste. You can then stipple this mixture onto the model for a realistic, three-dimensional mud splatter.
Oil paints give you another level of control, especially for creating fluid streaks and stains. By placing tiny dots of oil paint (raw umber for grime, burnt sienna for fresh rust) onto the surface, you can use a clean brush dampened with odorless thinner to gently pull the dots downward. This creates incredibly realistic streaks of grime or rust that look like they've been washed down by rain.
The whole approach to weathering has really changed over the years, much like the auto industry itself. While solvent-based sprays were the standard back in the 1950s, the rise of airbrushes and far superior paints has opened up a world of possibilities. As real-world car sales, especially SUVs, have boomed, model companies have followed suit, pushing us hobbyists to develop more complex weathering to match these rugged vehicles. You can dig into some of these automotive paint trends at MarketsandMarkets.com if you're curious.
Simulating Chips and Scratches
No car that's seen any real use is free of paint chips. Replicating this kind of damage adds a massive dose of realism. One of my go-to methods for this is the "sponge technique."
Just tear off a small piece of sponge—foam from an old blister pack works great—and dab it into some dark grey or rust-colored acrylic paint. Blot most of it off on a paper towel, then lightly tap the sponge onto areas that would see the most wear and tear. Think panel edges, wheel arches, and the front bumper. The random pattern from the sponge creates perfectly scaled and believable paint chips.
If you want to go even deeper on this topic, check out our dedicated guide on weathering model cars.
Achieving a Mirror-Like Final Finish
The final steps are where a great paint job becomes a showstopper. This is where we lay down the clear coat and polish it to perfection, creating that deep, liquid shine that makes a model look like it could drive right off the shelf. Honestly, this is the secret sauce behind a truly award-winning finish.
Your first big decision is the clear coat itself. Just like base paints, clears have different chemical makeups, and each behaves a little differently. What your project needs will determine the right choice. Getting this final layer right is a cornerstone of advanced model car painting techniques.
Choosing the Right Clear Coat
The clear coat has two critical jobs: it shields the delicate color and decal layers underneath, and it gives you the surface to polish for that mirror-like gloss.
- Acrylic Clears: These are your most user-friendly option, perfect if you're just starting out. They have low fumes and simple cleanup. While they offer decent protection, they aren't as hard as other types, so you'll need a lighter touch when polishing.
- Lacquer Clears: A favorite for many builders, lacquers cure into a hard, durable finish that's ideal for more aggressive polishing. They dry fast but come with strong fumes, so excellent ventilation is a must.
- 2K Urethane Clears: This is the undisputed king of durability. A 2K clear is a two-part system where you mix the clear with a chemical hardener. The result is an incredibly tough, automotive-grade finish that's nearly impossible to damage. It's also the most toxic option and requires a proper respirator and serious safety precautions.
For a deep, jaw-dropping shine on a '67 Mustang replica, a high-quality lacquer clear is my top pick. Its hardness is exactly what you need for the intense polishing required to get that classic car show look. That said, the forgiving nature of acrylics makes them my go-to for sealing smaller parts that won't be handled much.
Applying a Flawless Clear Coat
The mission here is to apply the clear coat without creating new problems like runs, sags, or "orange peel"—that bumpy texture that looks just like its namesake. The trick is to build up several thin, wet coats.
Start with a very light "tack coat" over the entire body. Let this flash off for about 10-15 minutes. This gives the next, heavier coats something to grab onto. Follow up with two or three wetter coats, leaving about 15-20 minutes of drying time between each one. Keep your airbrush moving smoothly and consistently to build up a nice, even layer.
Now for the hard part: walk away. The clear coat needs to cure completely. This isn't a matter of hours; it's days. I always give my clear coats at least 4-7 days in a warm, dust-free place before I even think about touching them.
Wet-Sanding for a Glassy Surface
Once the clear coat is rock-hard, it’s time to work some real magic. No matter how perfectly you spray, tiny dust specks or a hint of orange peel are almost inevitable. Wet-sanding is how we get rid of them.
Using extremely fine-grit waterproof sandpaper, starting around 3000-grit and moving up to 12000-grit, you'll gently sand the entire surface. A single drop of dish soap in your water helps act as a lubricant. The goal isn’t to remove the clear coat but to level it, sanding just enough to create a uniform, dull finish. This step can feel a little nerve-wracking at first, but it's the critical bridge to a perfect polish.
Polishing to a Brilliant Shine
With your surface perfectly smooth but dull, the final move is to bring back the shine with polishing compounds. Think of these as liquid sandpaper, filled with micro-abrasives that refine the surface to a gleam. I almost always use a three-stage polishing system, starting with a coarse compound, then a fine one, and finishing with a swirl remover polish.
Put a small amount of compound on a soft, lint-free cloth and work it into the surface using small, circular motions. After each stage, wipe the residue clean with a fresh cloth to see the shine get progressively deeper and clearer. The final polish erases the last of the ultra-fine scratches, leaving that coveted, mirror-like finish.
Of course, maintaining this brilliant surface is just as important. Knowing how to clean diecast cars without ruining the paint provides some great tips for long-term care. This whole process demands patience, but the jaw-dropping result is worth every second.
Frequently Asked Questions About Painting Model Cars
Even with a solid game plan, you're bound to run into specific little questions once the paint starts flying. It happens to all of us. Here are some of the most common hurdles modelers face, along with some quick, real-world advice to keep your project on track.
How Long Should I Wait Between Coats of Paint?
This is probably the most crucial question, and the answer comes down to the chemistry of the paint you're using. There's no single magic number, but here's a solid rule of thumb I've developed over years of building:
- Lacquers: These are your speed demons. Lacquers flash off incredibly fast, and you can usually lay down another coat within 15-30 minutes under good, dry conditions.
- Enamels: Patience is a virtue here. Enamels are the slowest to cure, and you absolutely must give them at least a full 24 hours. Rush it, and you'll get a wrinkled mess.
- Acrylics: These can be all over the map depending on the brand. A safe bet is to give them 1-2 hours between coats to be sure.
The golden rule? Always read the can or bottle. The manufacturer knows their formula best. If you're ever in doubt, waiting longer is always the safer play. A tacky undercoat will ruin an entire paint job.
Can I Mix Different Brands and Types of Paint?
Tread very carefully here. Trying to mix different paint systems is usually a recipe for heartbreak. Spraying a "hot" solvent like lacquer over an enamel that hasn't fully cured is a classic mistake—it will cause the enamel to wrinkle and lift right off the plastic. It's a disaster.
The safest, most reliable approach is to stick with one paint system for your color and clear coats. If you're using lacquers, use a lacquer clear. If you're using acrylics, stick with acrylics.
If you absolutely must layer different types, the key is to create a barrier. Let the base layer cure for several days—not just hours—and then seal it with a neutral acrylic clear coat before moving on.
What Causes Orange Peel and How Do I Fix It?
Ah, the dreaded orange peel. That bumpy, textured finish that looks exactly like its name. It happens when your paint droplets start to dry in the air before they even hit the model, so they can't flow together into a smooth, level surface.
It's usually caused by one of three things: spraying too far away from the model, using too much air pressure, or not thinning your paint quite enough.
The good news is you can fix minor orange peel on your final clear coat once it's fully cured. The fix involves gently wet-sanding the surface with a super-fine sandpaper (2000-grit or even higher). After that, you'll work through a series of polishing compounds to bring back that deep, glossy shine.
If you have other questions popping up, our comprehensive Frequently Asked Questions page is packed with answers that might get you unstuck.
Here at Everything Diecast, we don't just offer the advice; we also stock the high-quality models that deserve a showroom-perfect paint job. Go ahead and explore our massive collection of classic and modern replicas. https://everythingdiecast.net